Nut
(Engine Lathe)
This project was particularly enjoyable and served as a strong introduction to fundamental lathe operations and part finishing. I began with a piece of hex stock, which provided a natural external shape for the nut and helped establish the overall form from the start.
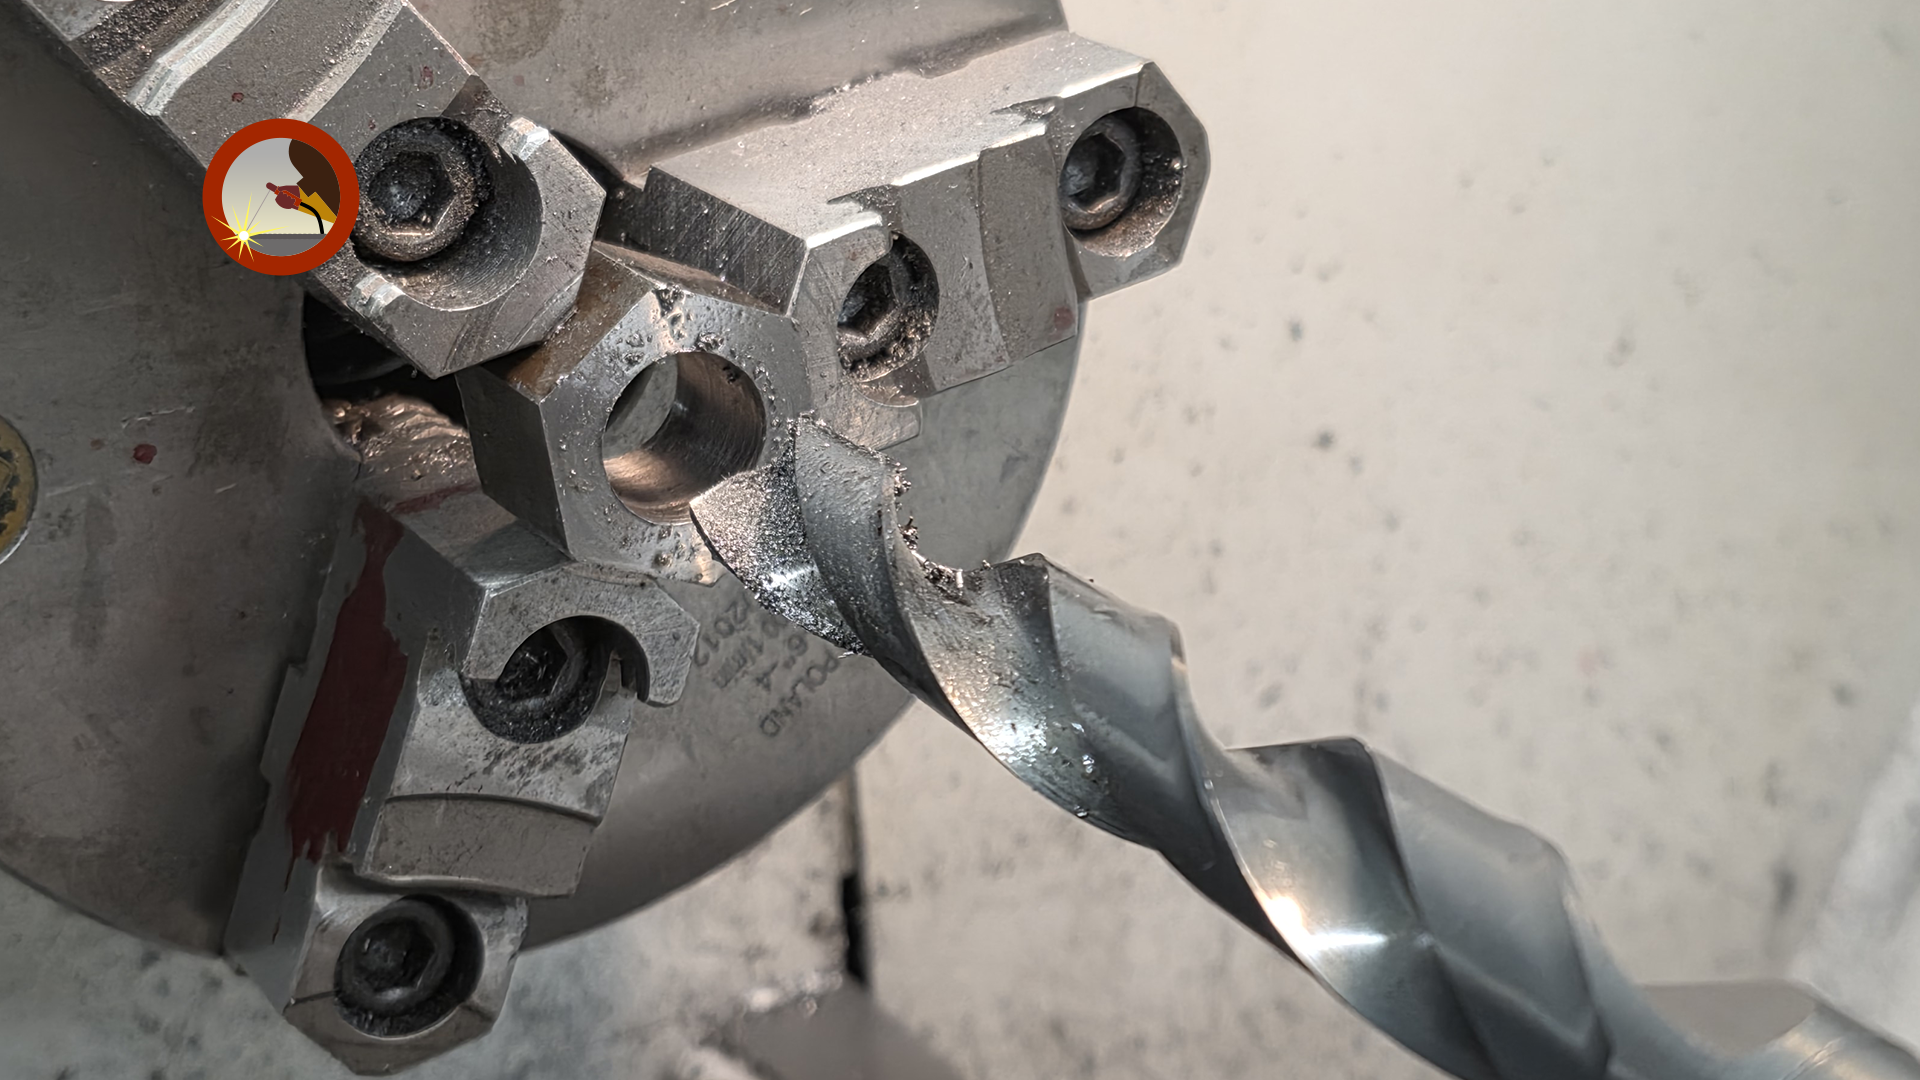
The process started by setting up the material in the lathe and facing the end to ensure a clean, square reference surface. From there, I drilled and bored the center hole to the required internal diameter in preparation for threading.
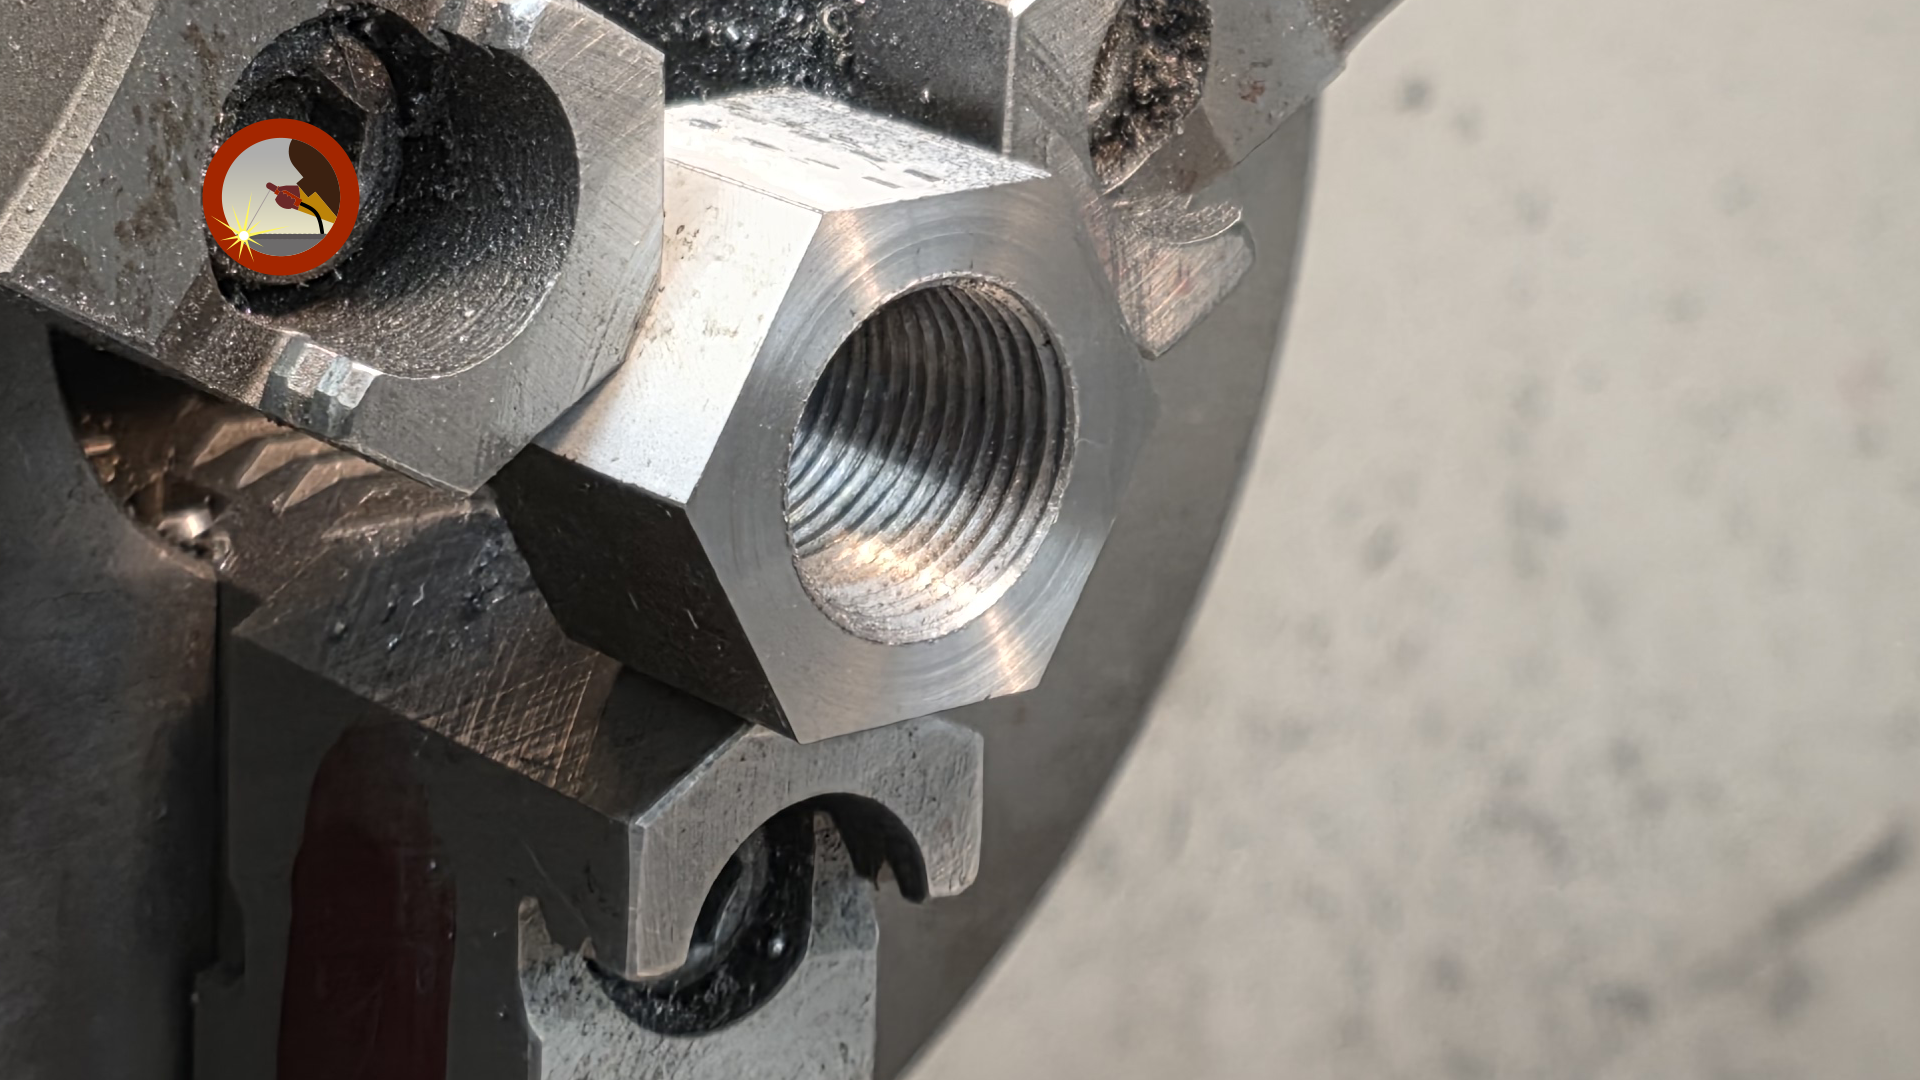
Once the correct internal diameter was achieved, I cut internal threads using a tap. Multiple light passes were taken with the tap to ensure clean, consistent threads and proper fitment with the corresponding bolt.
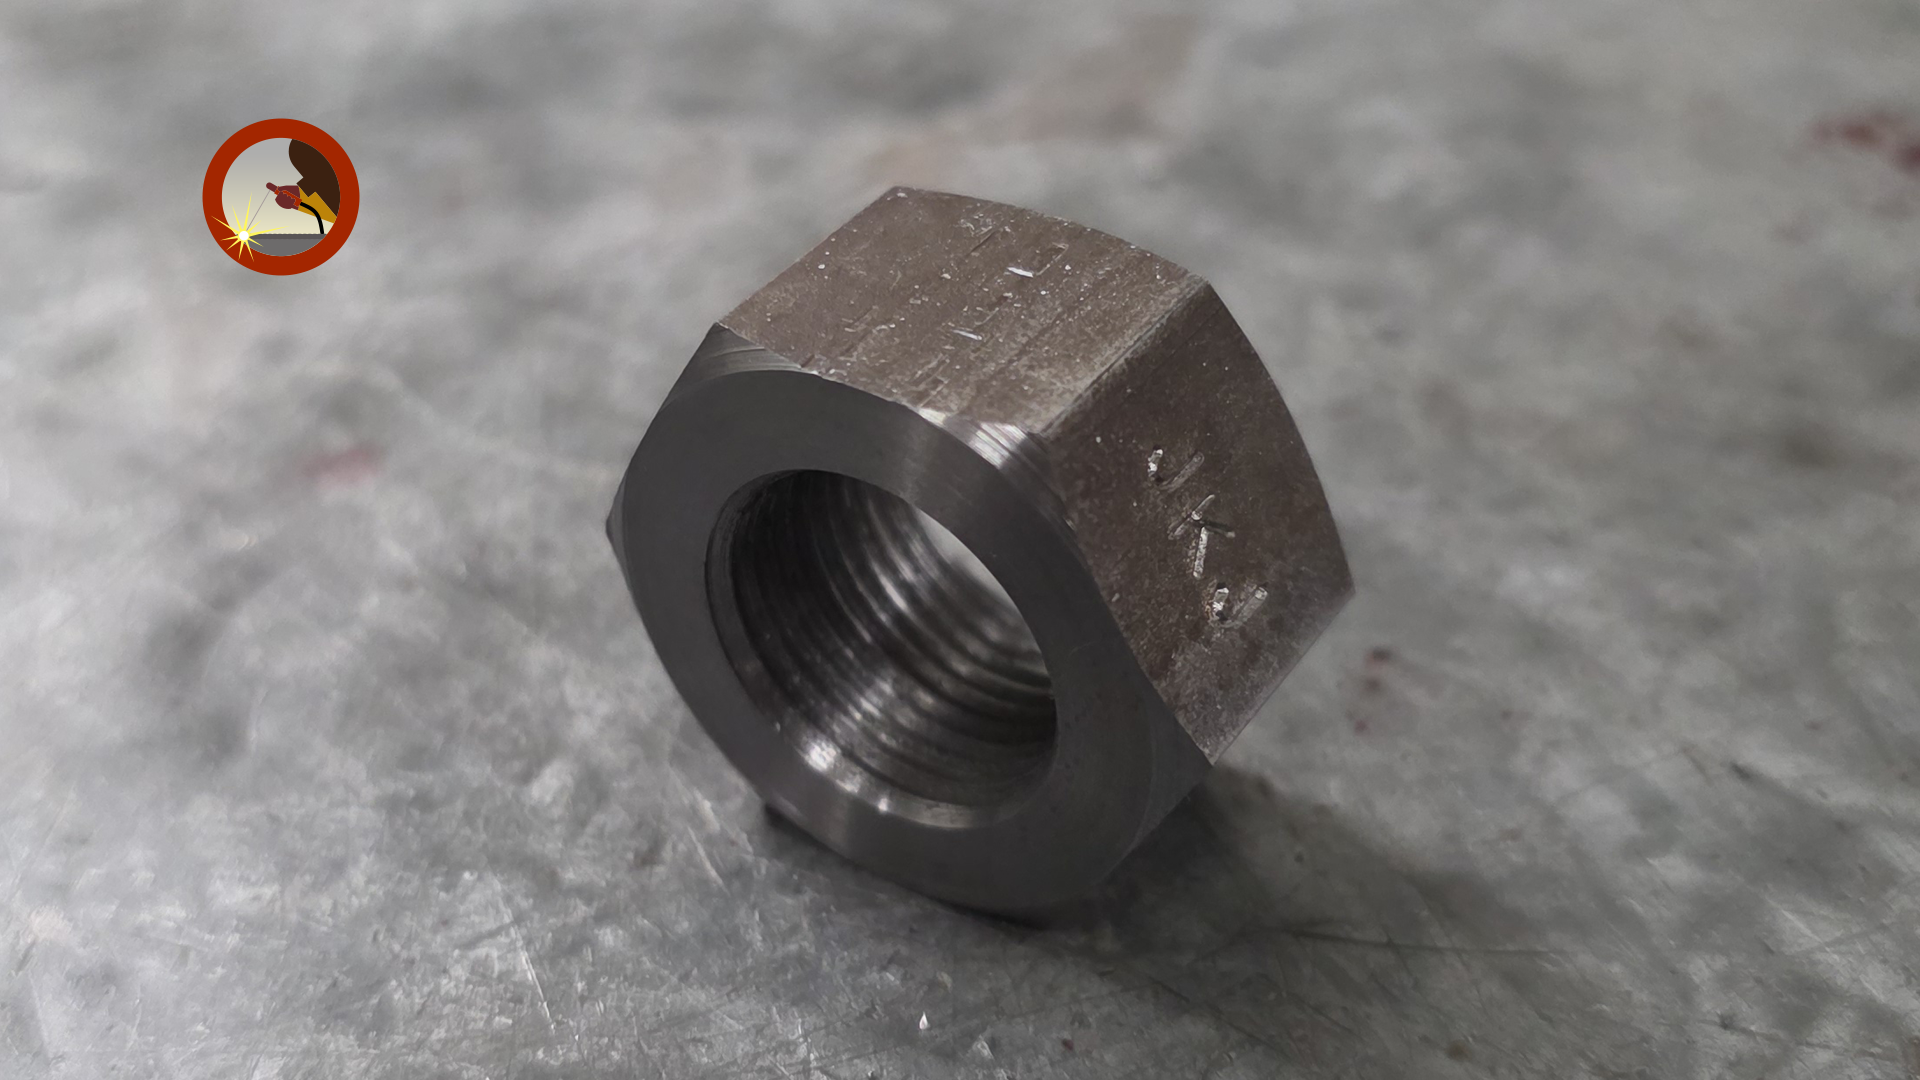
After threading, I added a chamfer to the corners to ease installation and reduce sharp edges. The hex stock was then reversed, faced to final length, and the remaining edges were chamfered to complete the part.
This project helped reinforce my understanding of key lathe operations, including facing, drilling, boring, chamfering, and internal threading. It also emphasized the importance of precision, setup stability, and attention to detail in machining. Overall, it was a valuable step in transitioning from design-focused coursework into hands-on manufacturing, and it provided a stronger appreciation for how machined components function in real-world applications.
Below are images showing different stages of the process. On the left is the internal boring operation being performed on the hex stock. In the center is the internal threading process being completed. On the right is the finished nut, featuring chamfered edges and my stamped initials. Feel free to click on the images for a better view.