

Production Videos
These are the two videos we created while creating [Level Up]. The storyboard sketches were created by Danielle Jalotjot to check timing of our animated sequences. Our goal was to create a video as close to photorealism as we could make.
Click here to view the project requirements3D Printed Pieces - Team
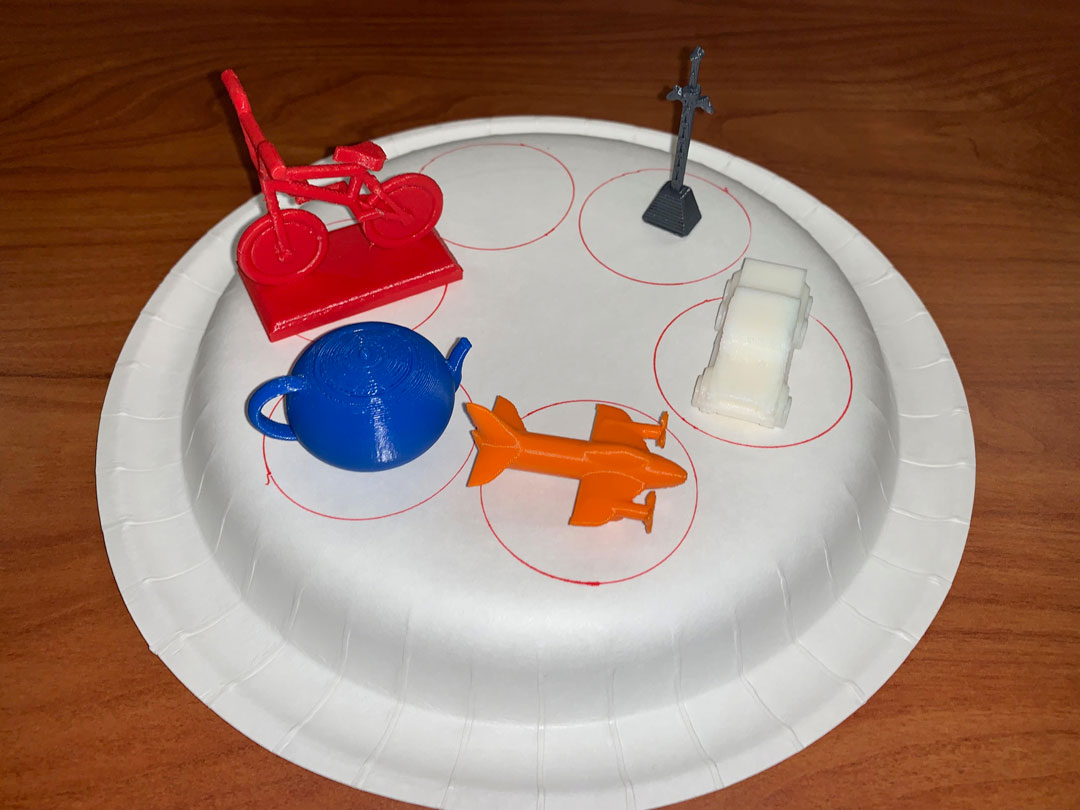
Since our piece selection scenes included all ten complex game pieces, we wanted to make sure they were in the live action scenes as 3D printed parts as well. To make this possible, each student had to partially deconstruct their complex models to make them more simplistic. We had to do this because all the detail would have gotten lost at the one to two inch scale we were printing at. Each piece still resembled its complex part but had exaggerated features to make them more distinguishable.
3D Modeled Pieces - Team
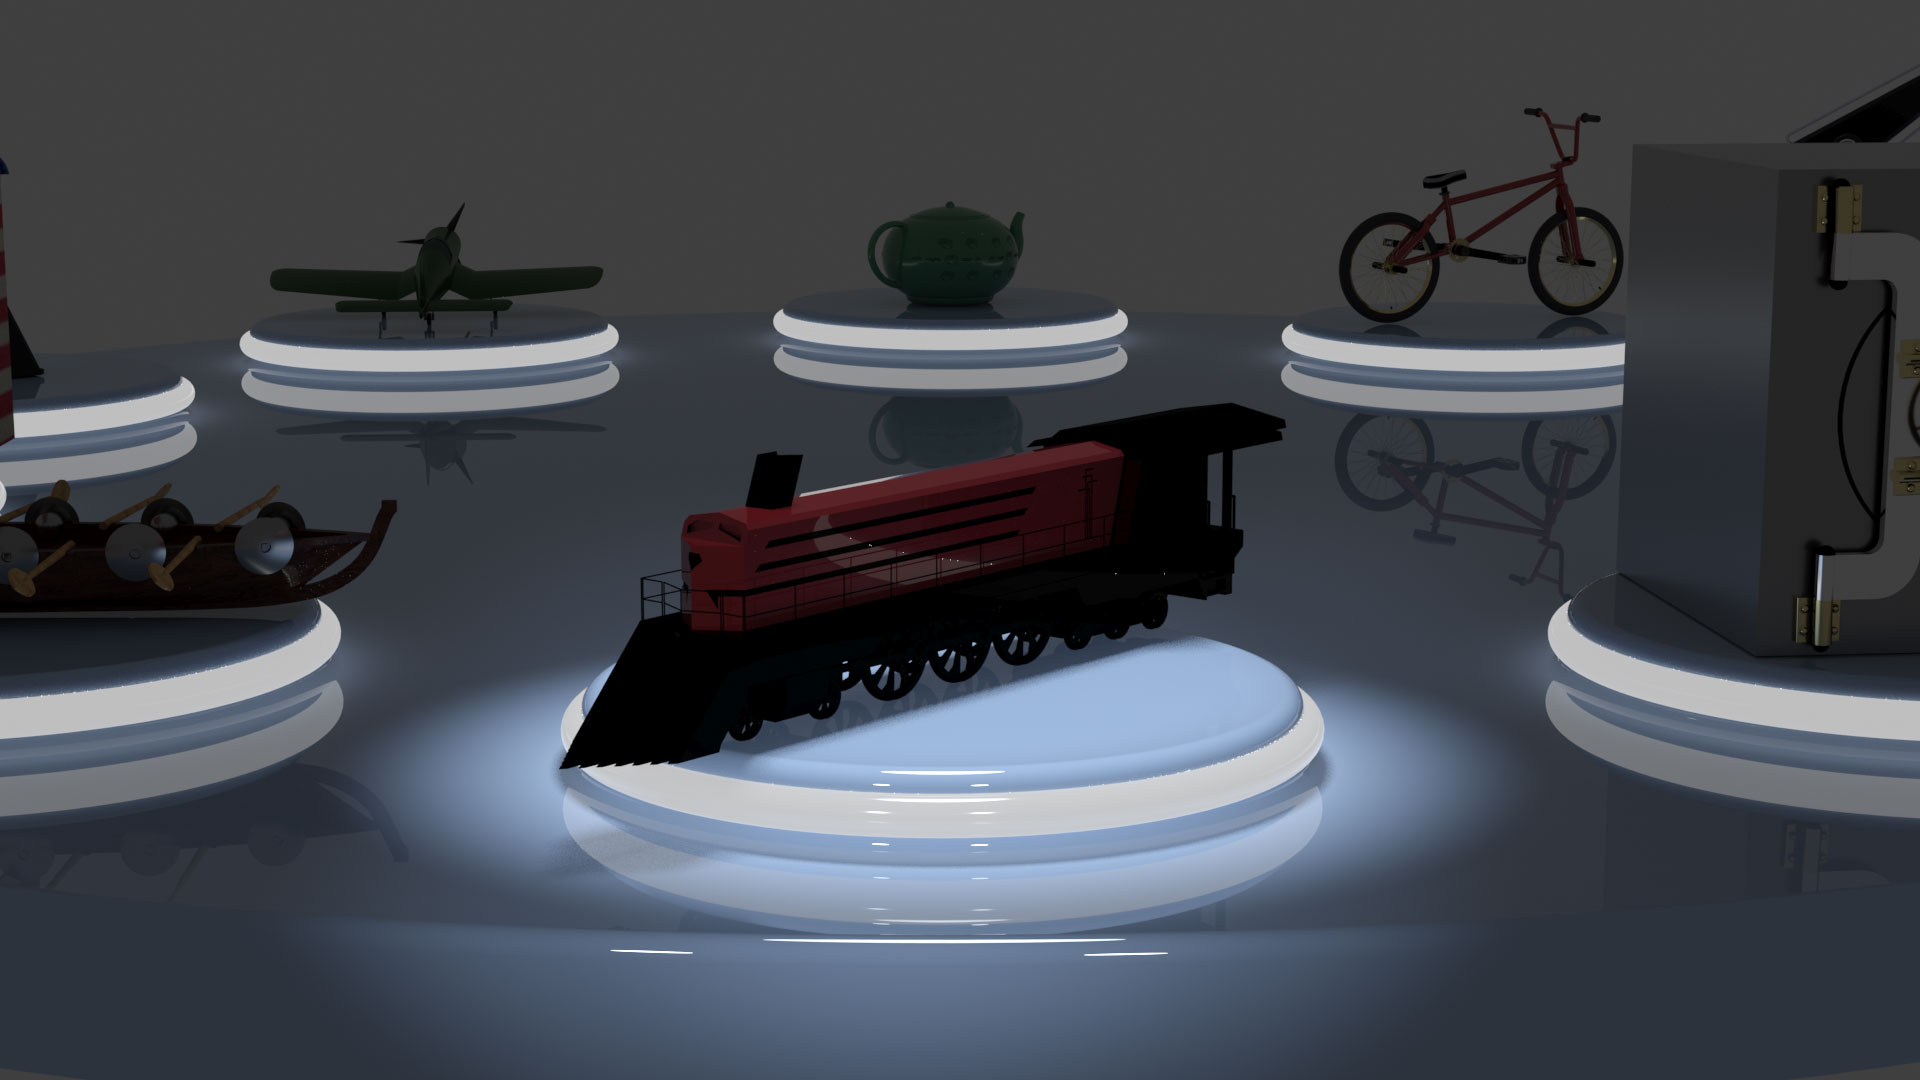
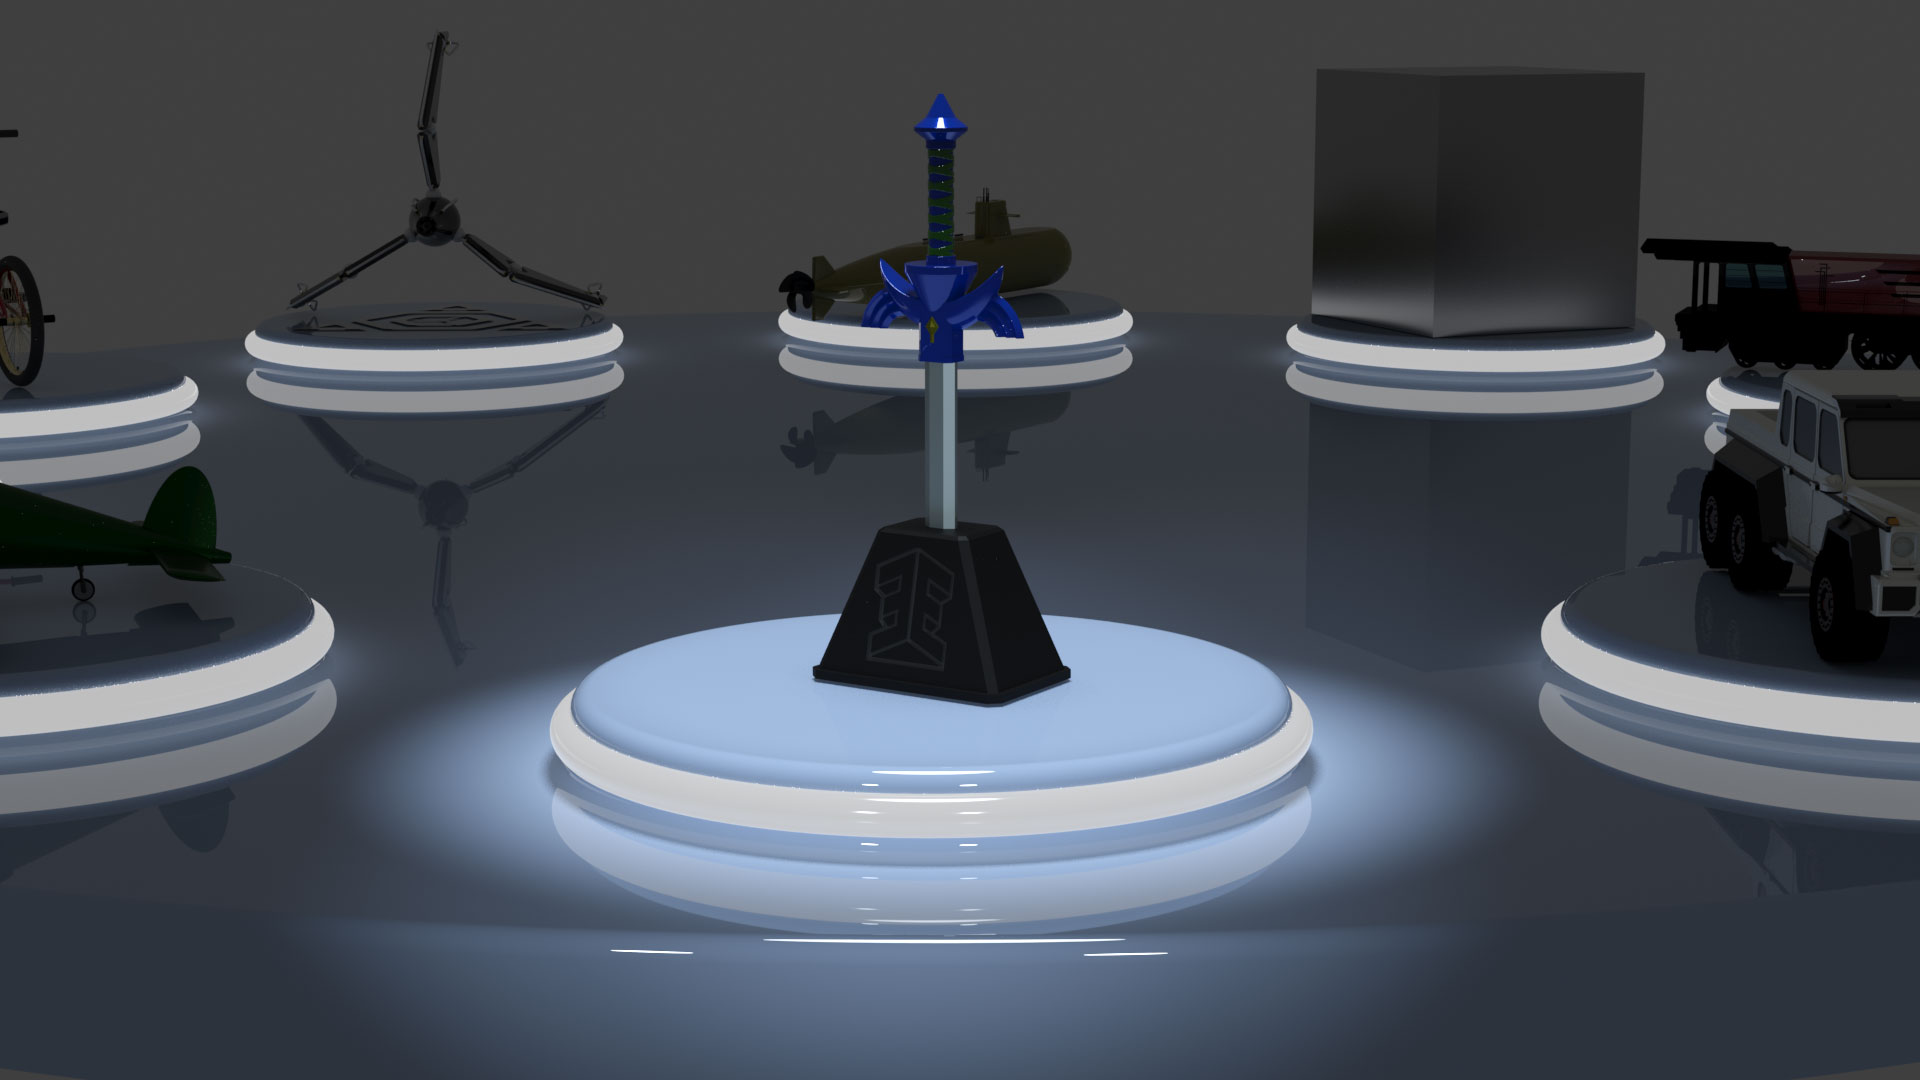
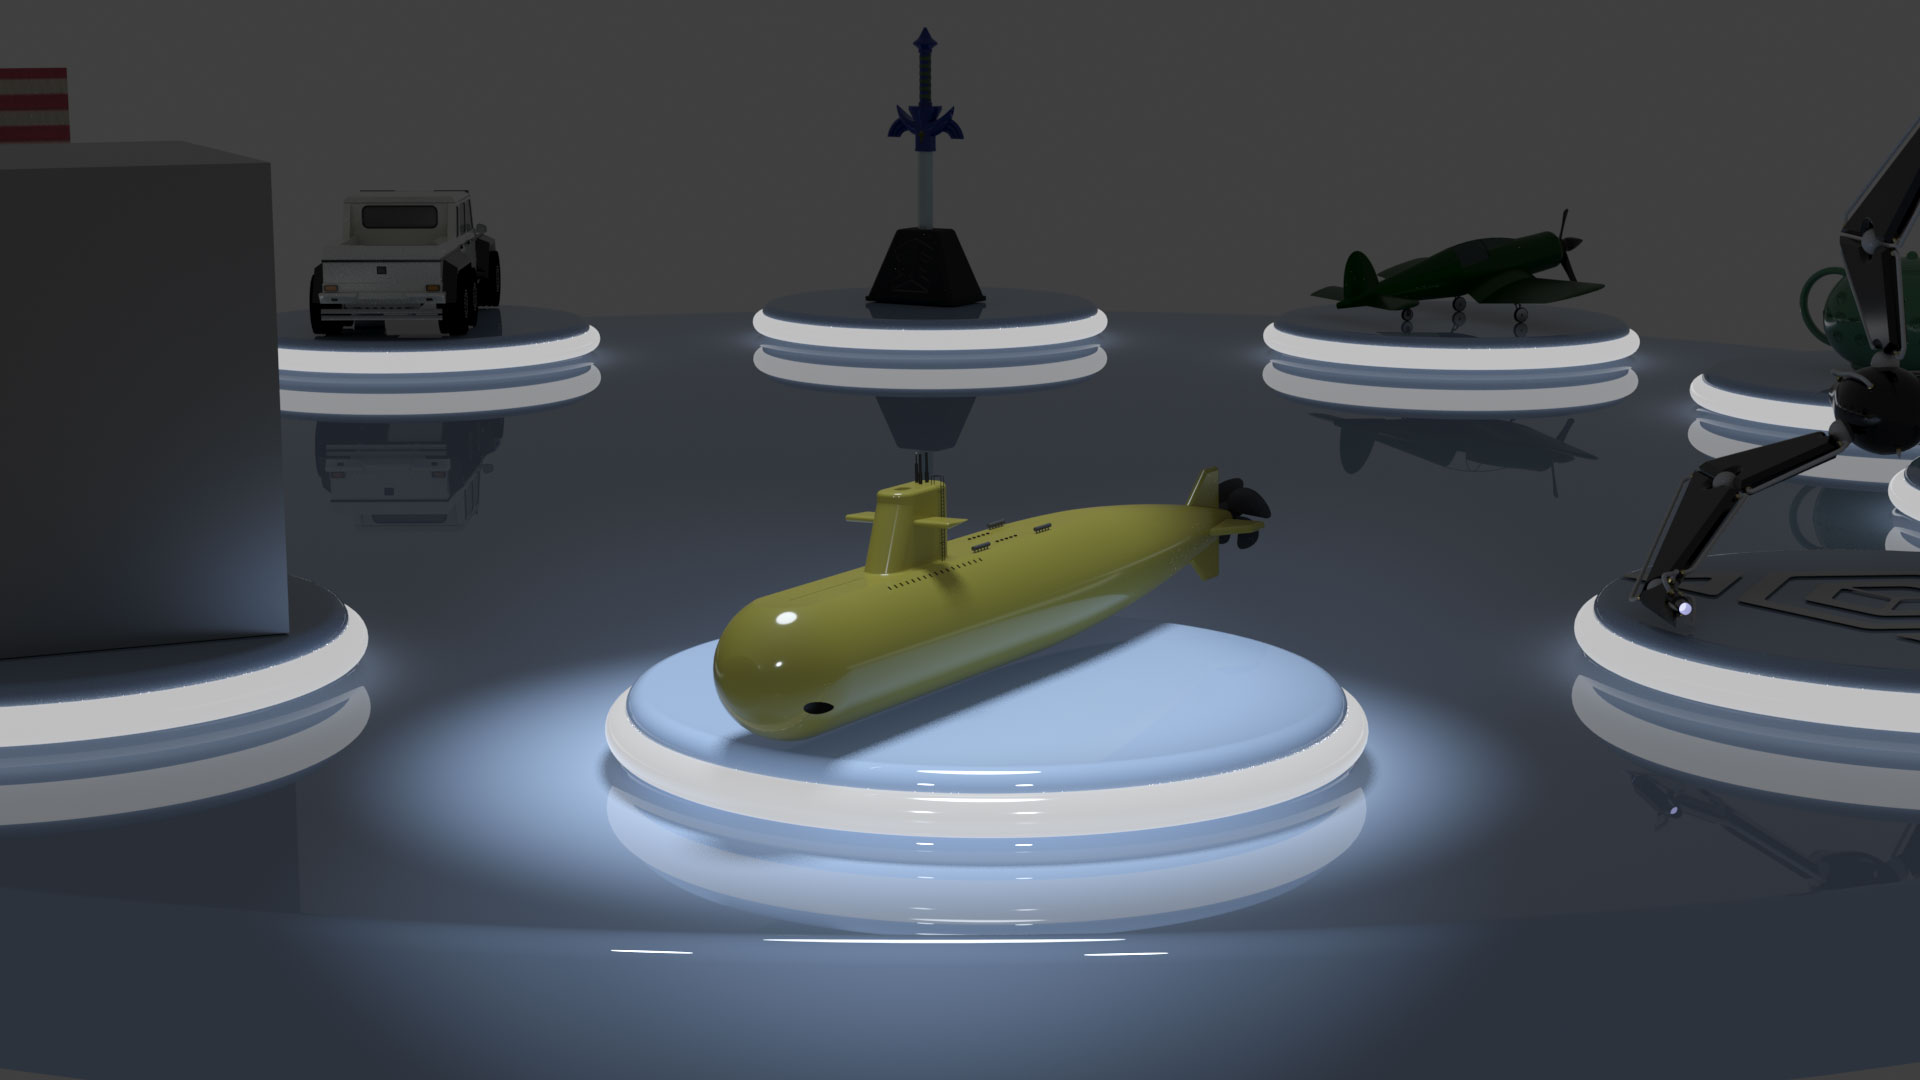


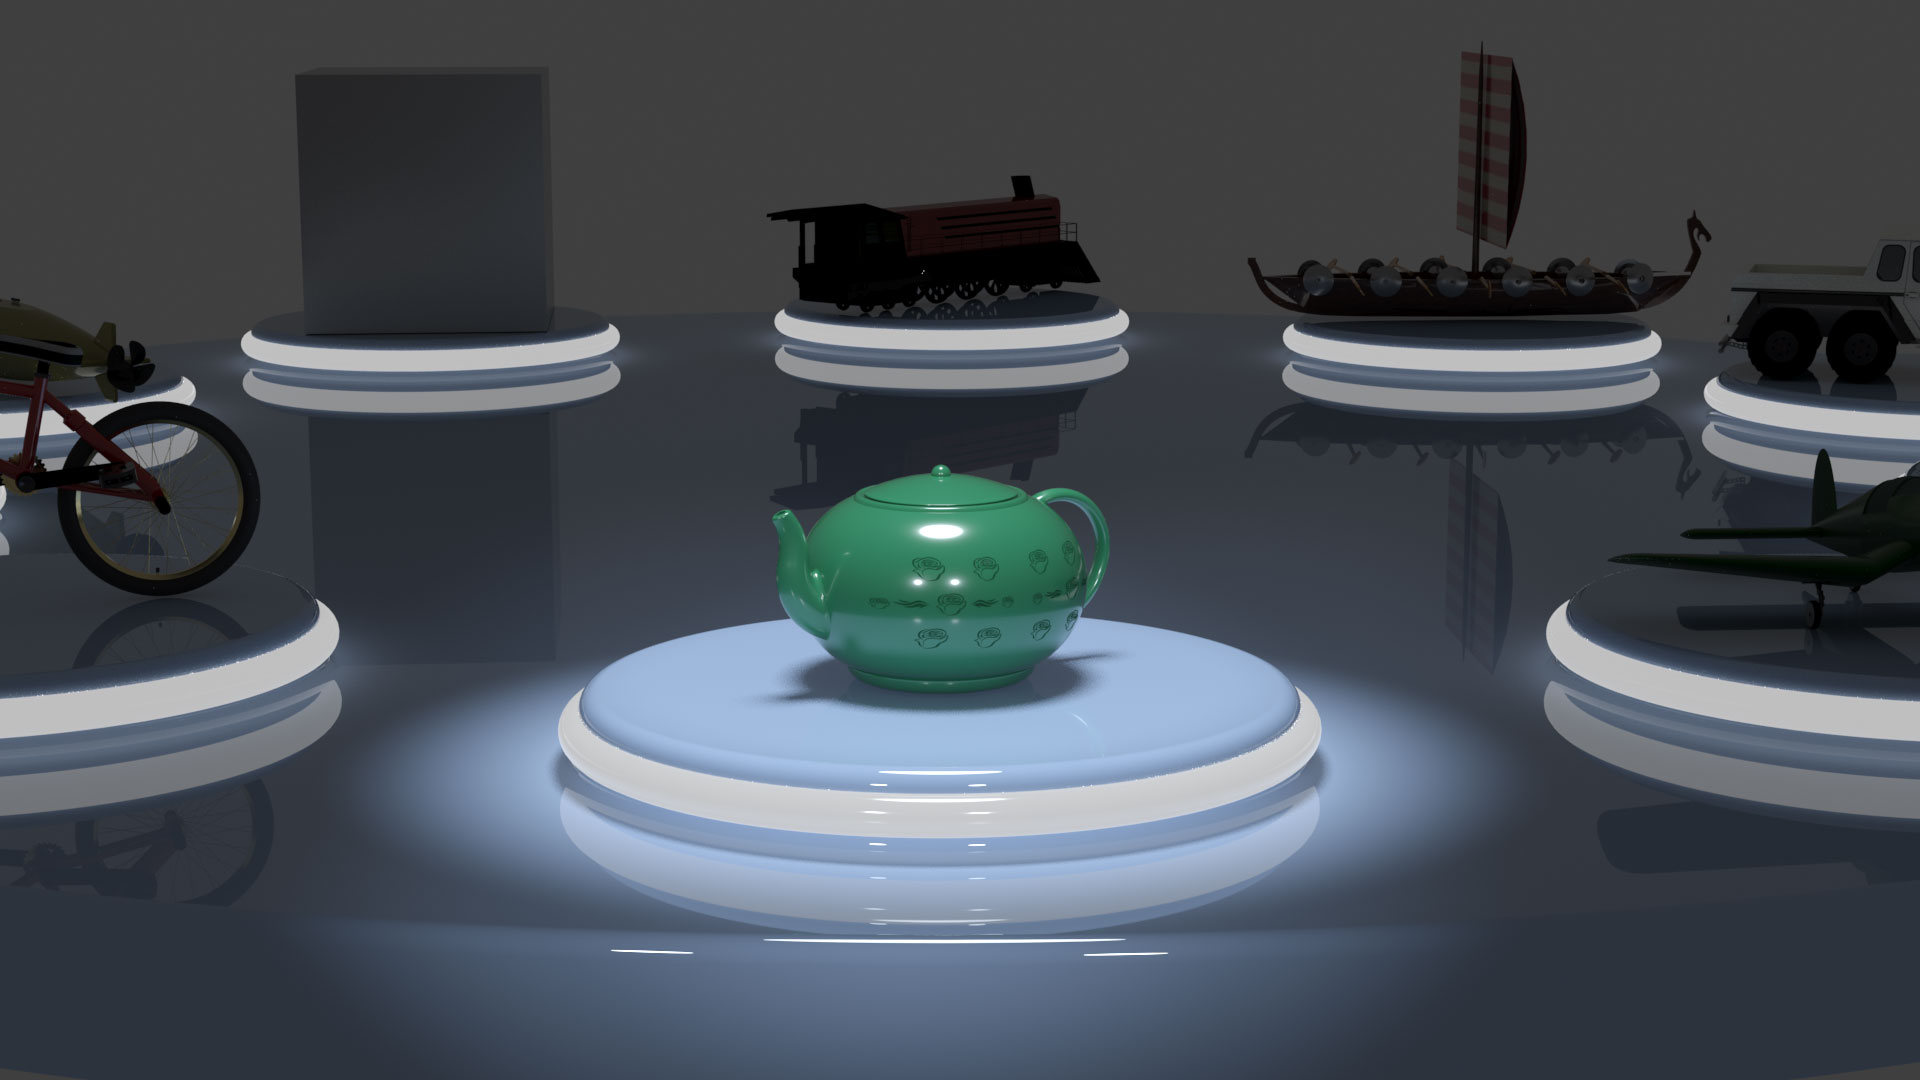
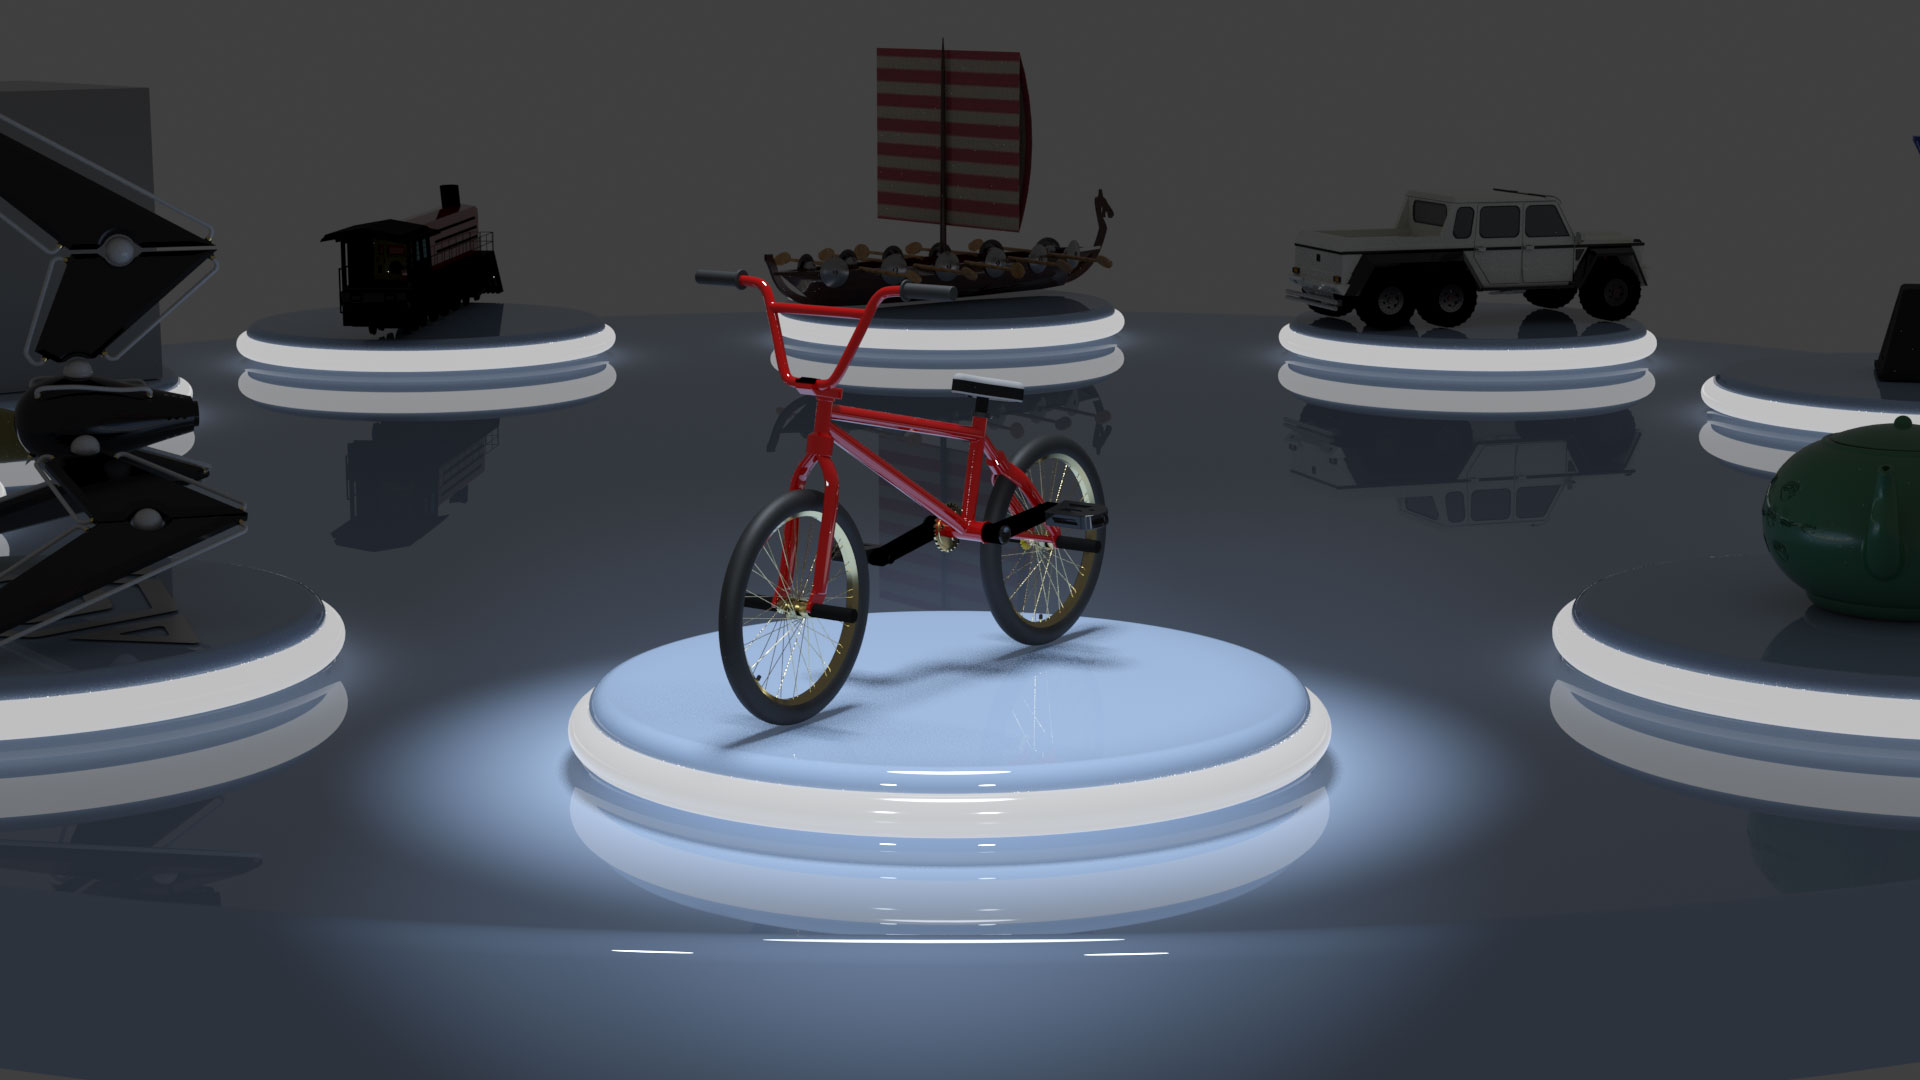
Each team member was tasked with creating their own complex model. These models were then used for the possible game piece selections in the beginning of the video. Only five were used in the storyline but we all put tremendous effort into every model showcased. (Boat-Sepehr Nayeri | Sword-Matt Encinias | Submarine-Fernando Morales | Spaceship-Neil Schafer | Vault-Pedro Morales | Teapot-Danielle Jalotjot | Truck-Parker Lake | Viking Langskip-Justin Rachel | Plane- Matt Encinias/Sam Torres | Bicycle-Jose Lara)
3D Rigged Model - SpaceShip - Neil Schafer
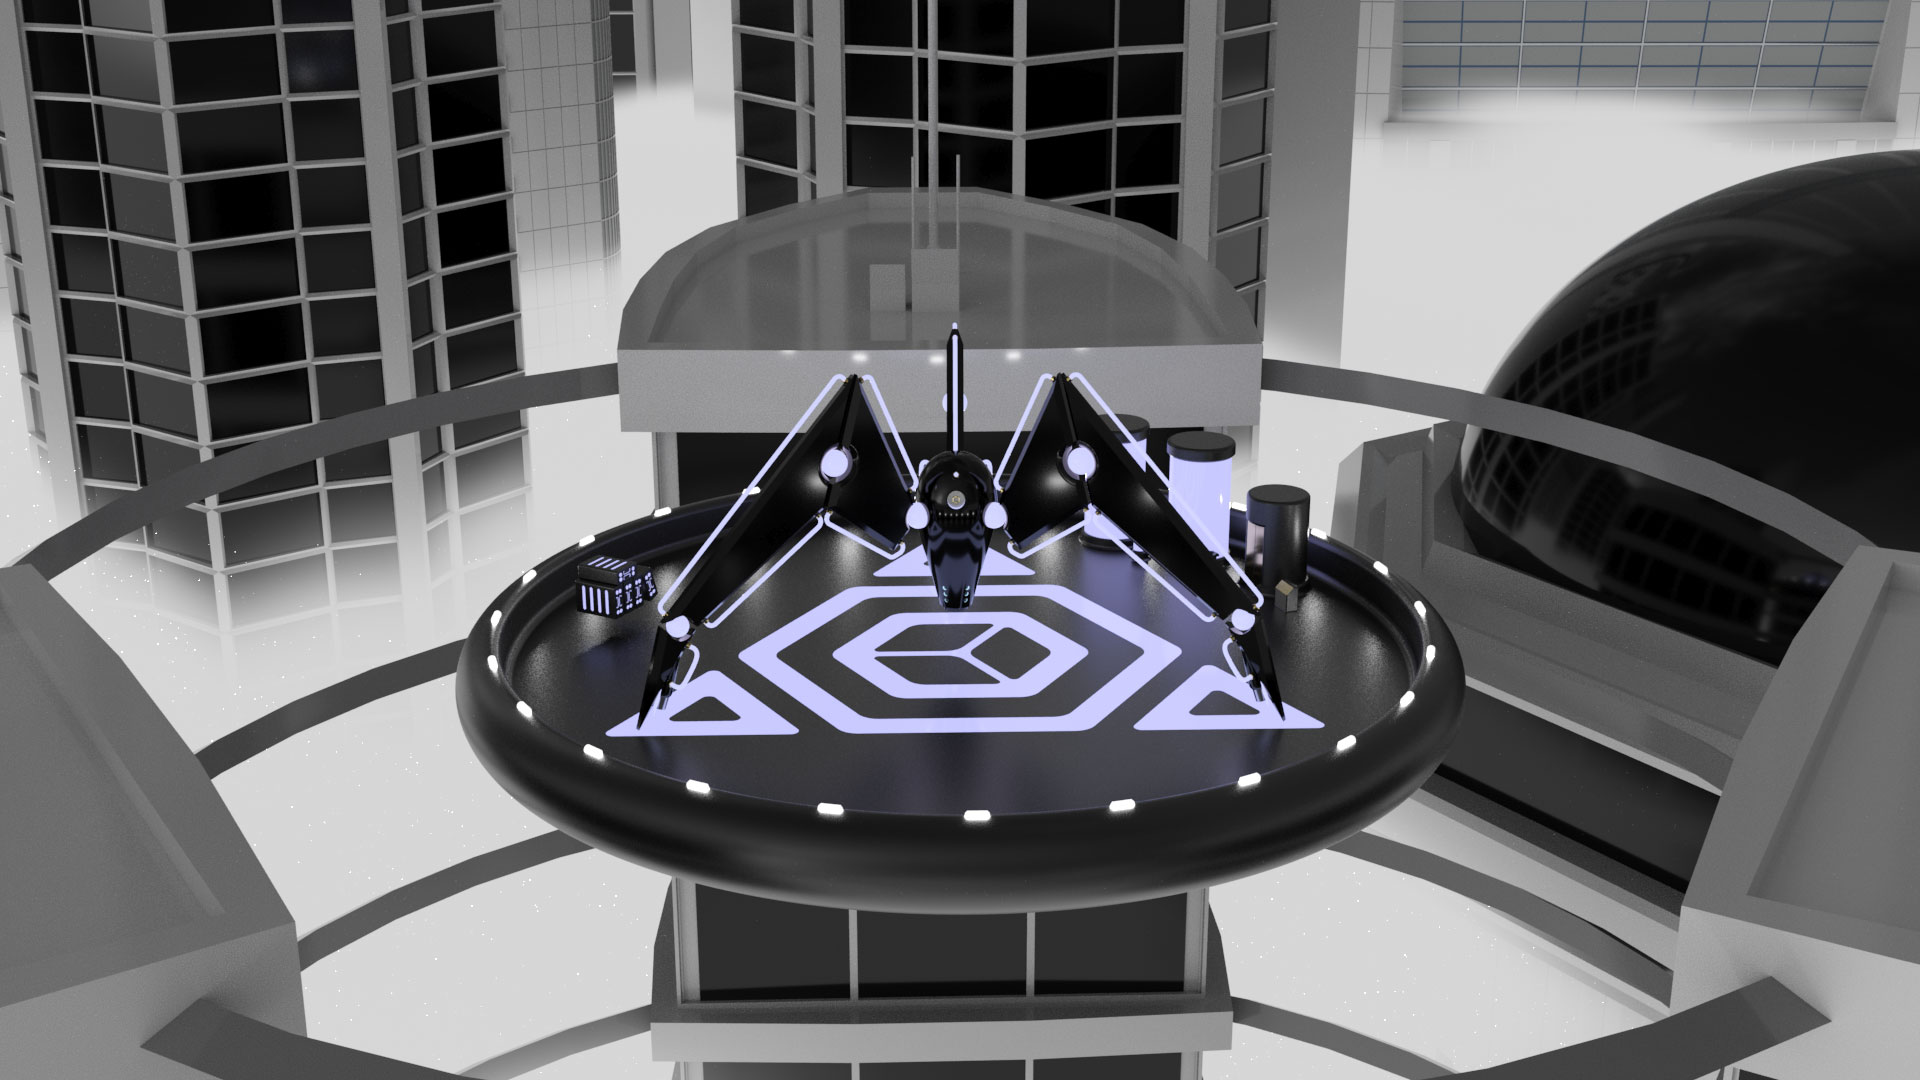
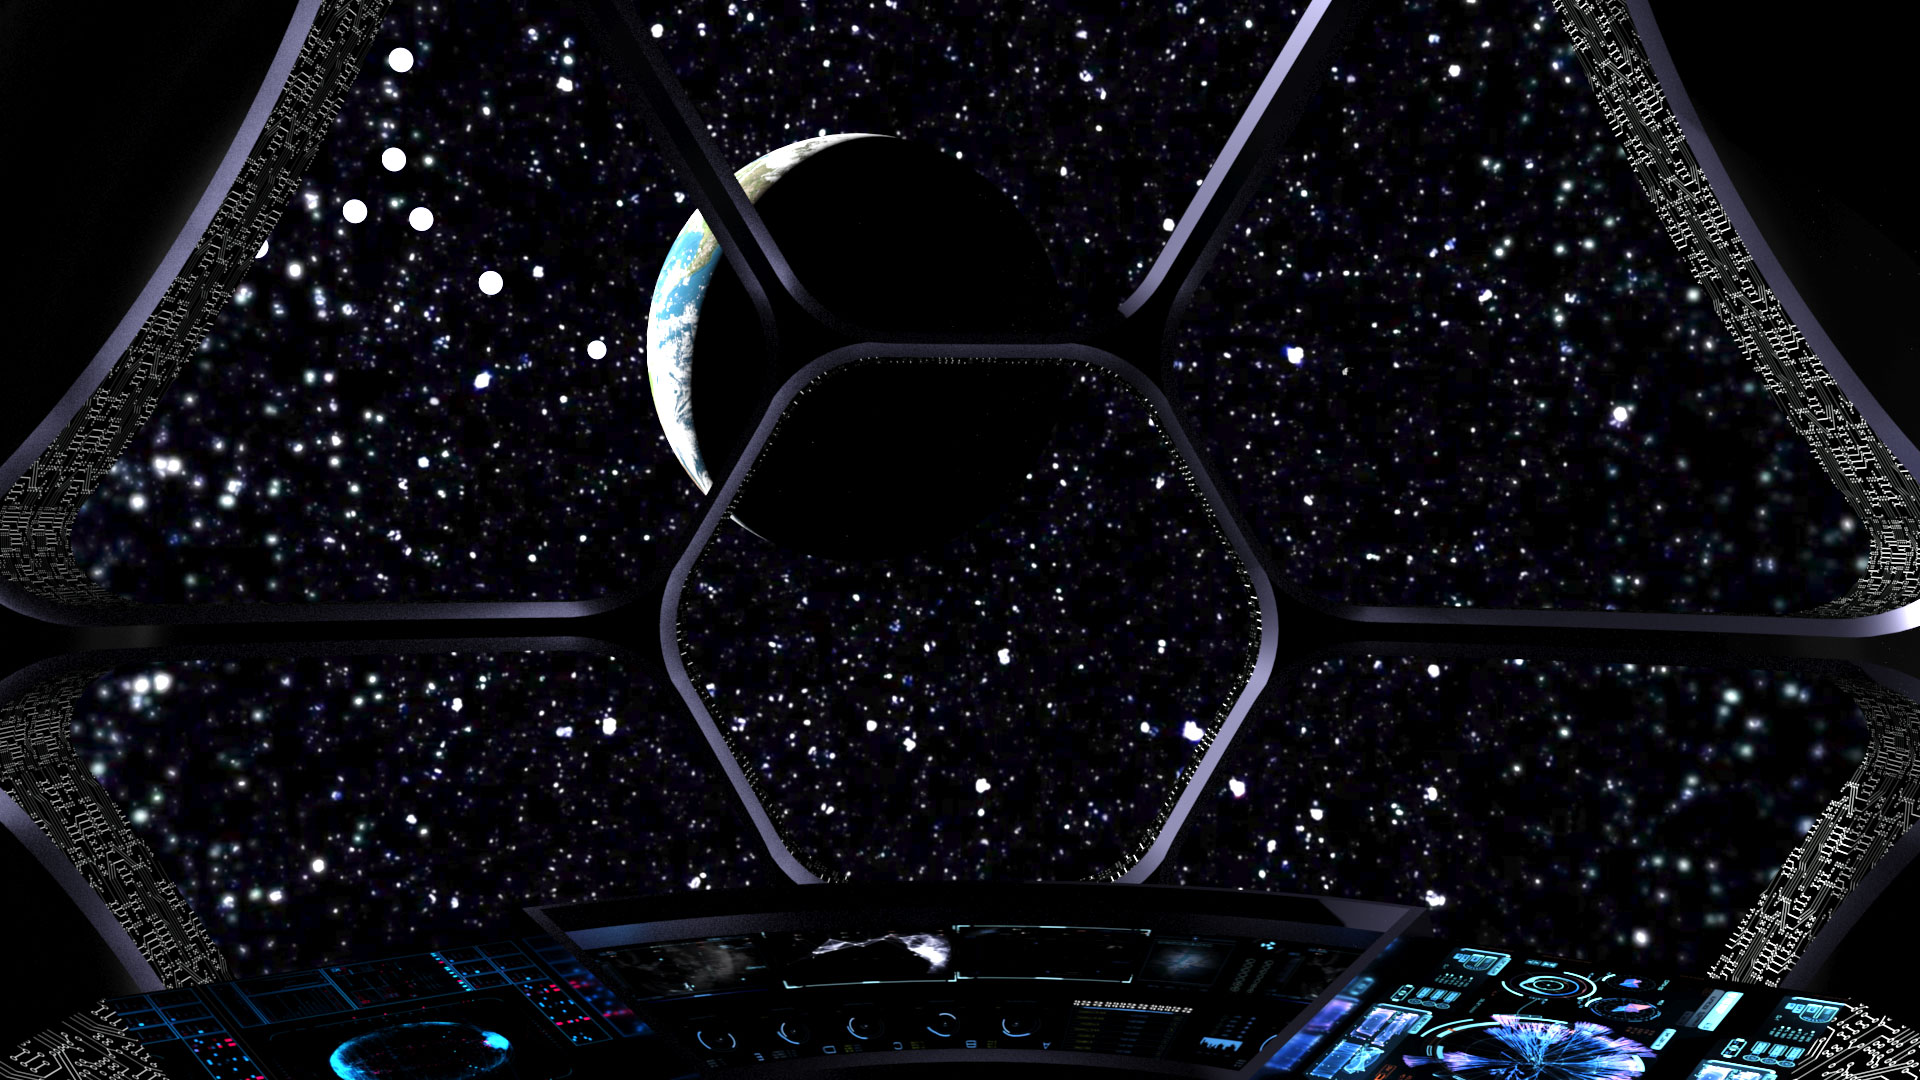
The creation of the space ship was a design inspired by Star Wars and other syfy culture. The cockpit display was a new way for me to experiment with wrapping uvw maps to make a surface look far more interesting than just a color. Rigging the space ship took me through a lot of the reaction manager to get all the points to move around the right pivot point. The most difficult part of setting this up was the color scheme of it. Originally it was going to be only two colors, however in the final product it is well over ten colors with all the maps and lights.
VDB Smoke (first image)- This was just something that I discovered by looking in to how to create a smoke atmosphere effect for the spaceship into scene. Fun fact, all the clouds we used are bunny shaped. They are DreamWorks open vdb files that are designed in house which were fortunately free.
3D Rigged Model - Truck - Parker Lake
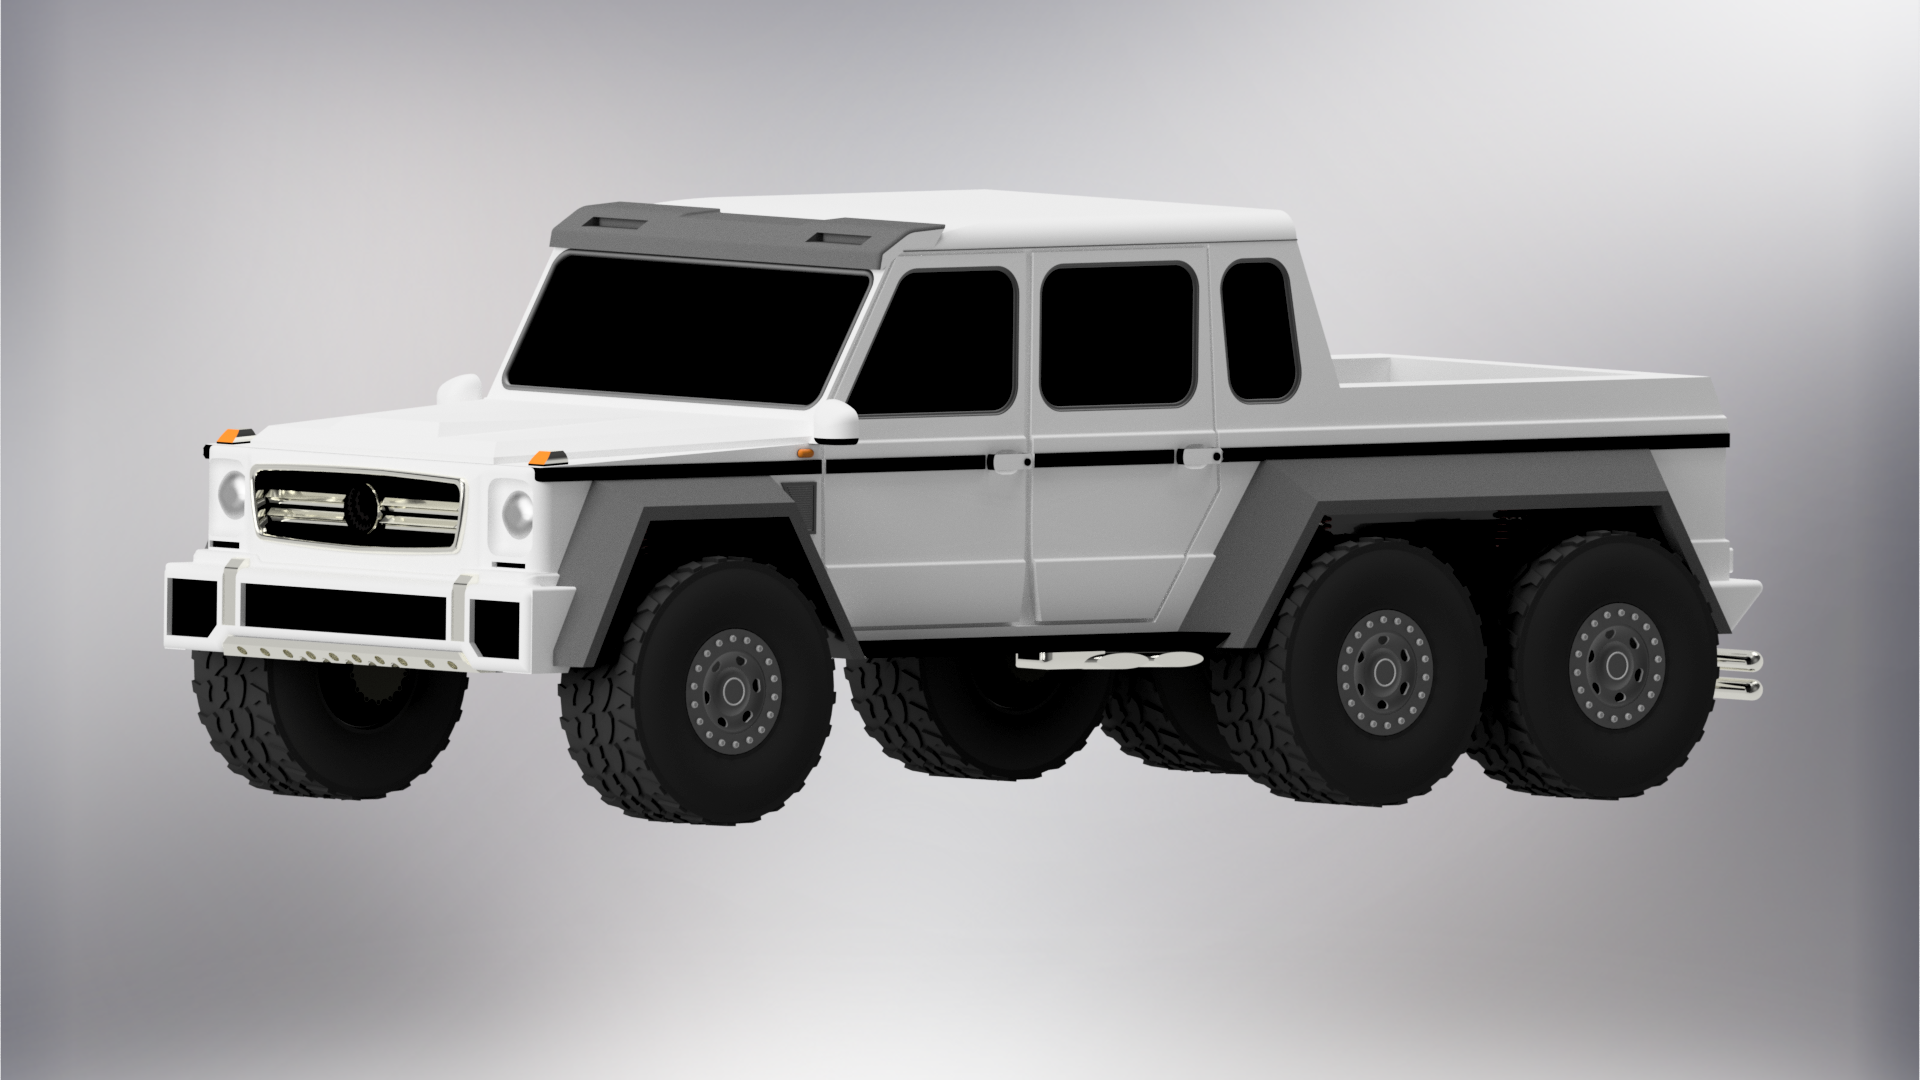

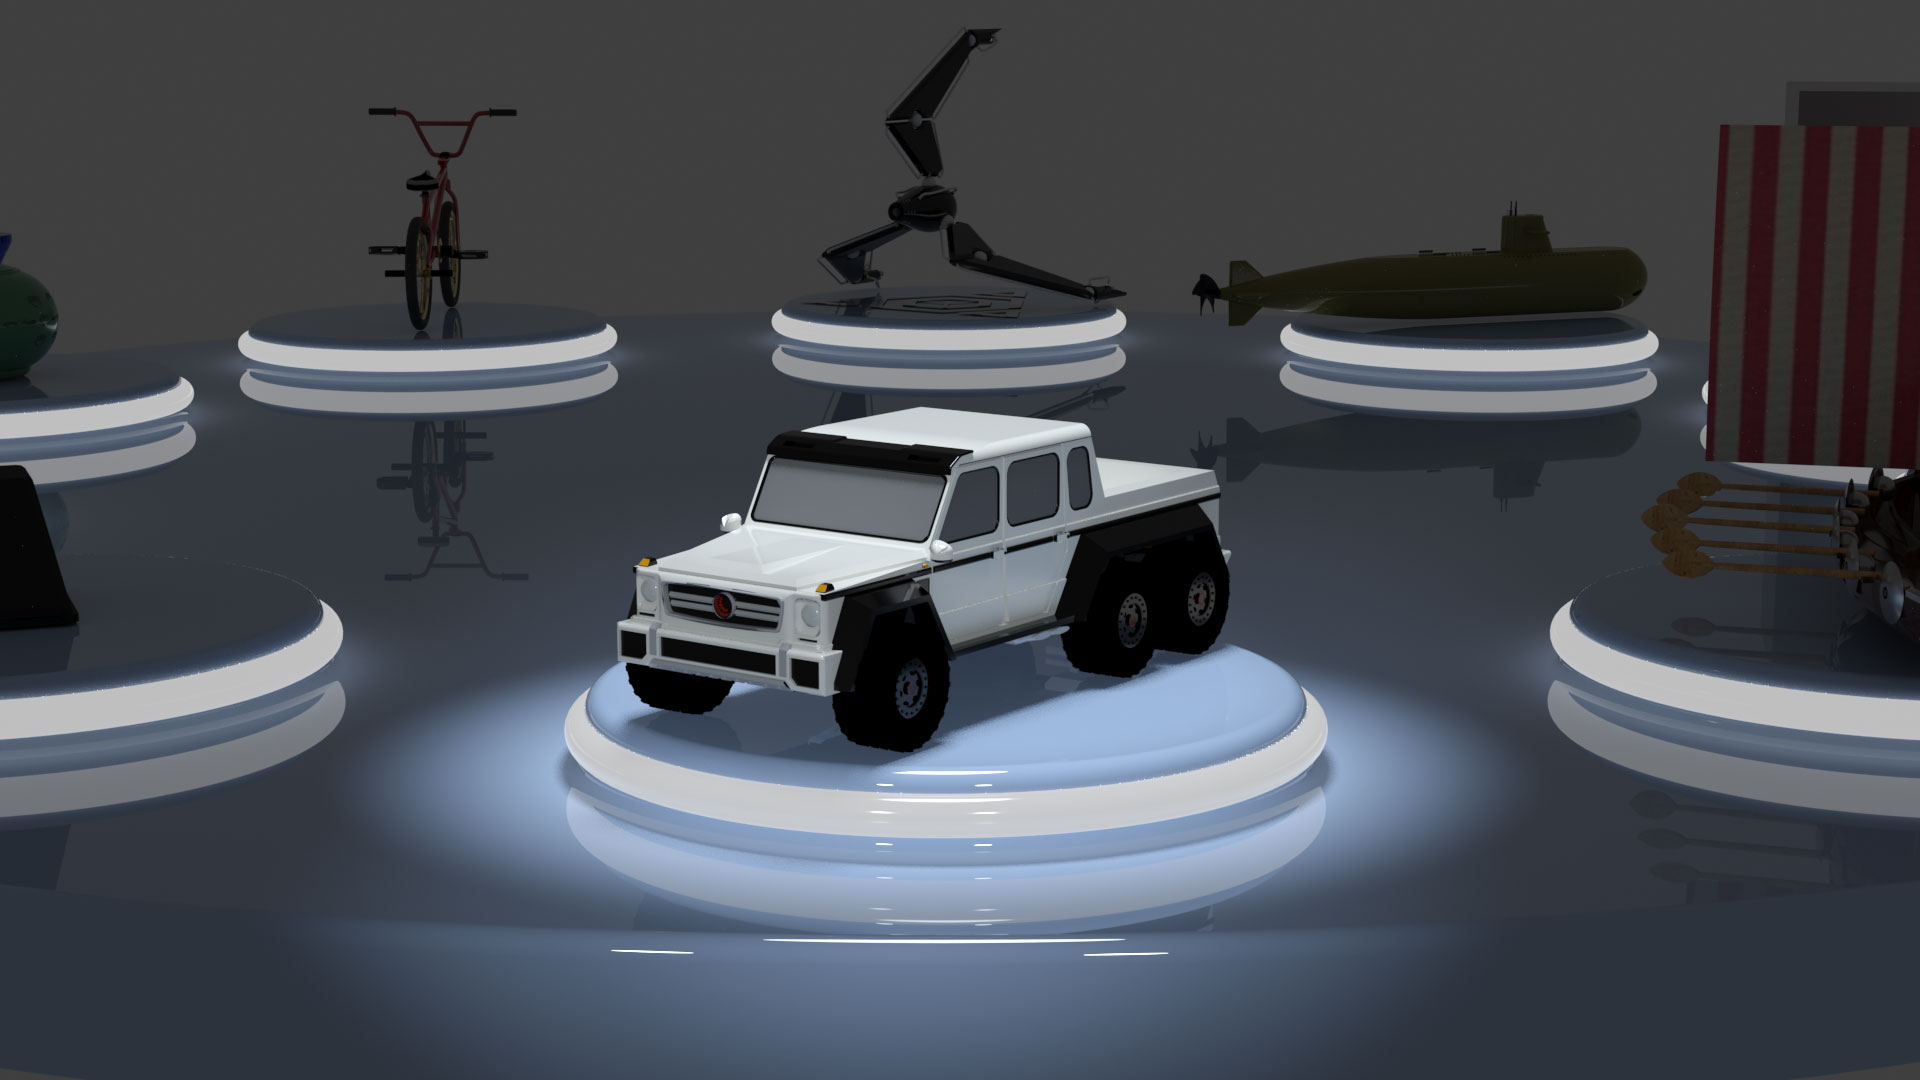
The truck was modeled in Autodesk Inventor and rigged and animated in Autodesk 3ds Max. This specific truck is based on a Mercedes G63 6X6. It proved to be a challenging task since the goal was to make the model as close to the actual truck as possible. The only part of the truck that differs from the real one is the Mercedes logo; it was replaced with Parker’s logo. The body itself was modeled as one part. Other parts included the wheels, rims, axels and springs. The truck was rigged so that the wheels rotated while the body moved and hydraulic-like motions were added for the animated dialogue scenes.
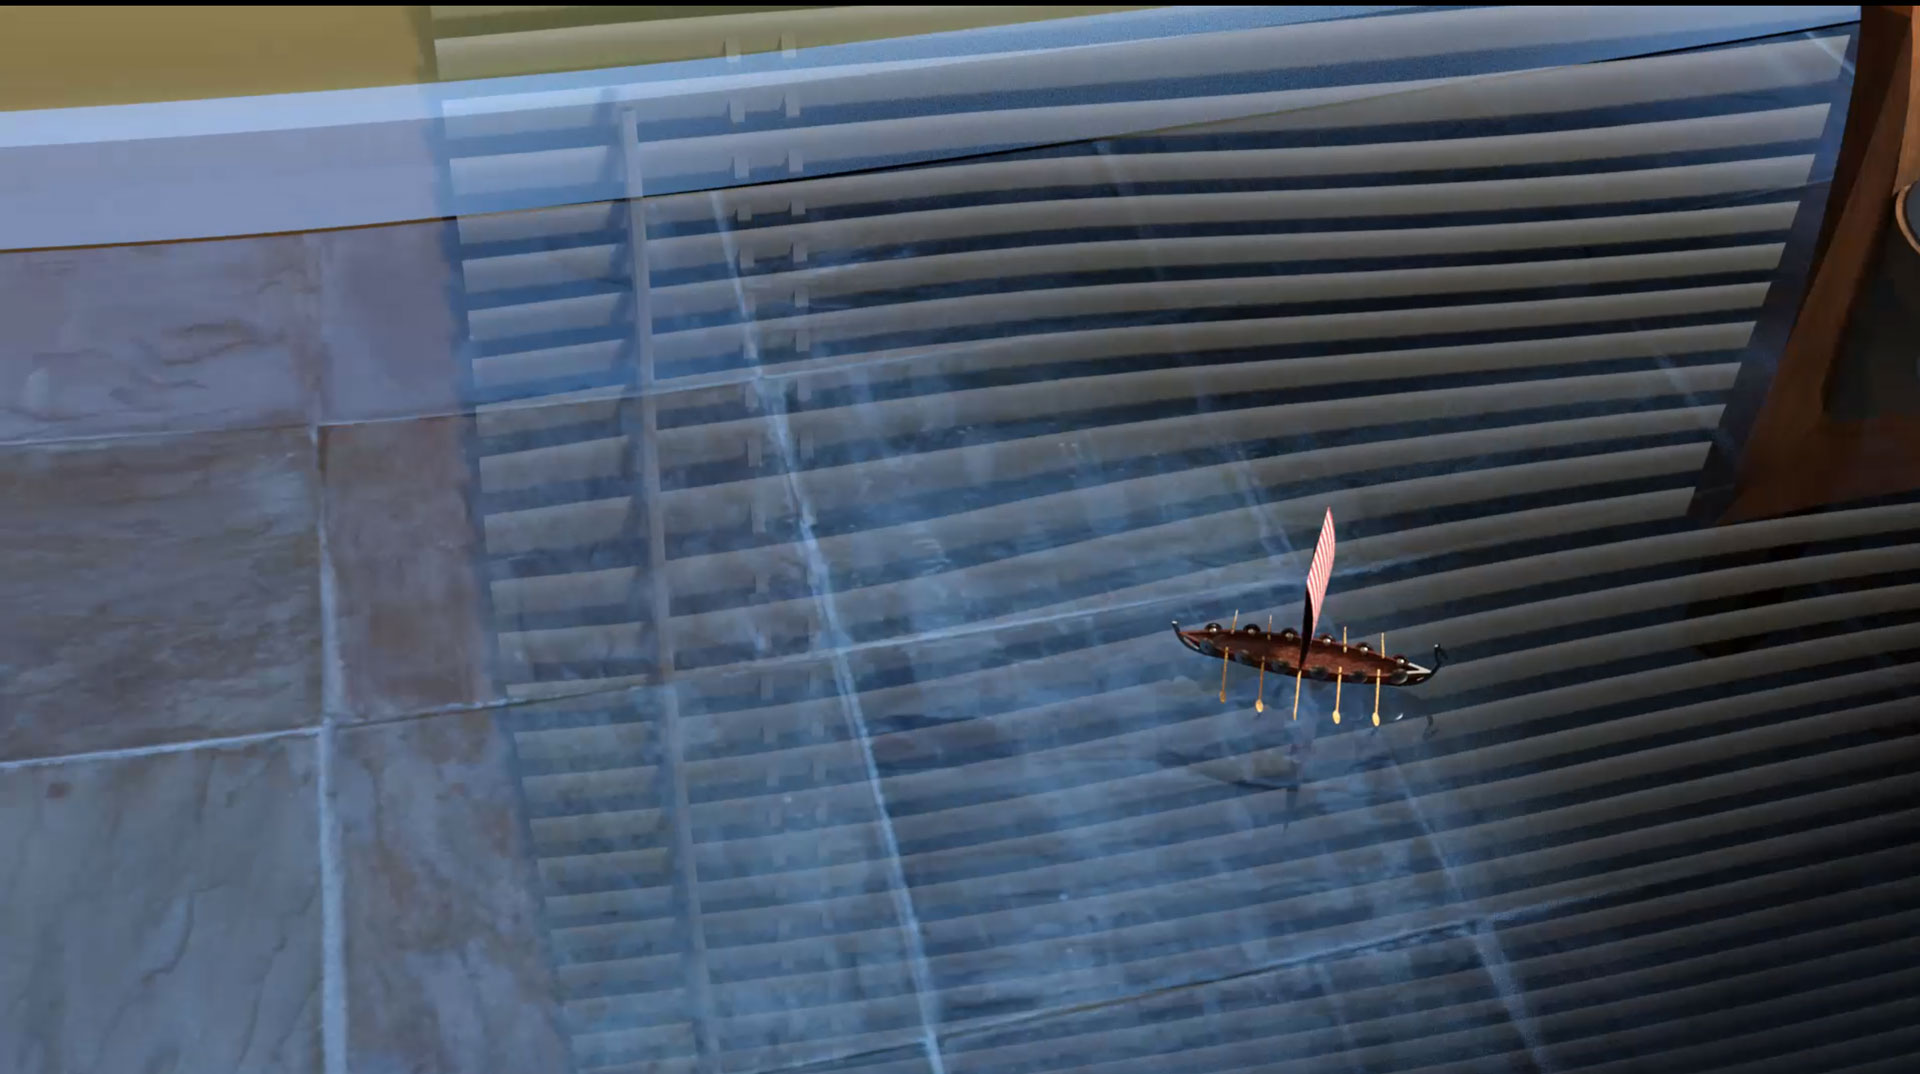
3D Rigged Model - Boat - Justin Rachel
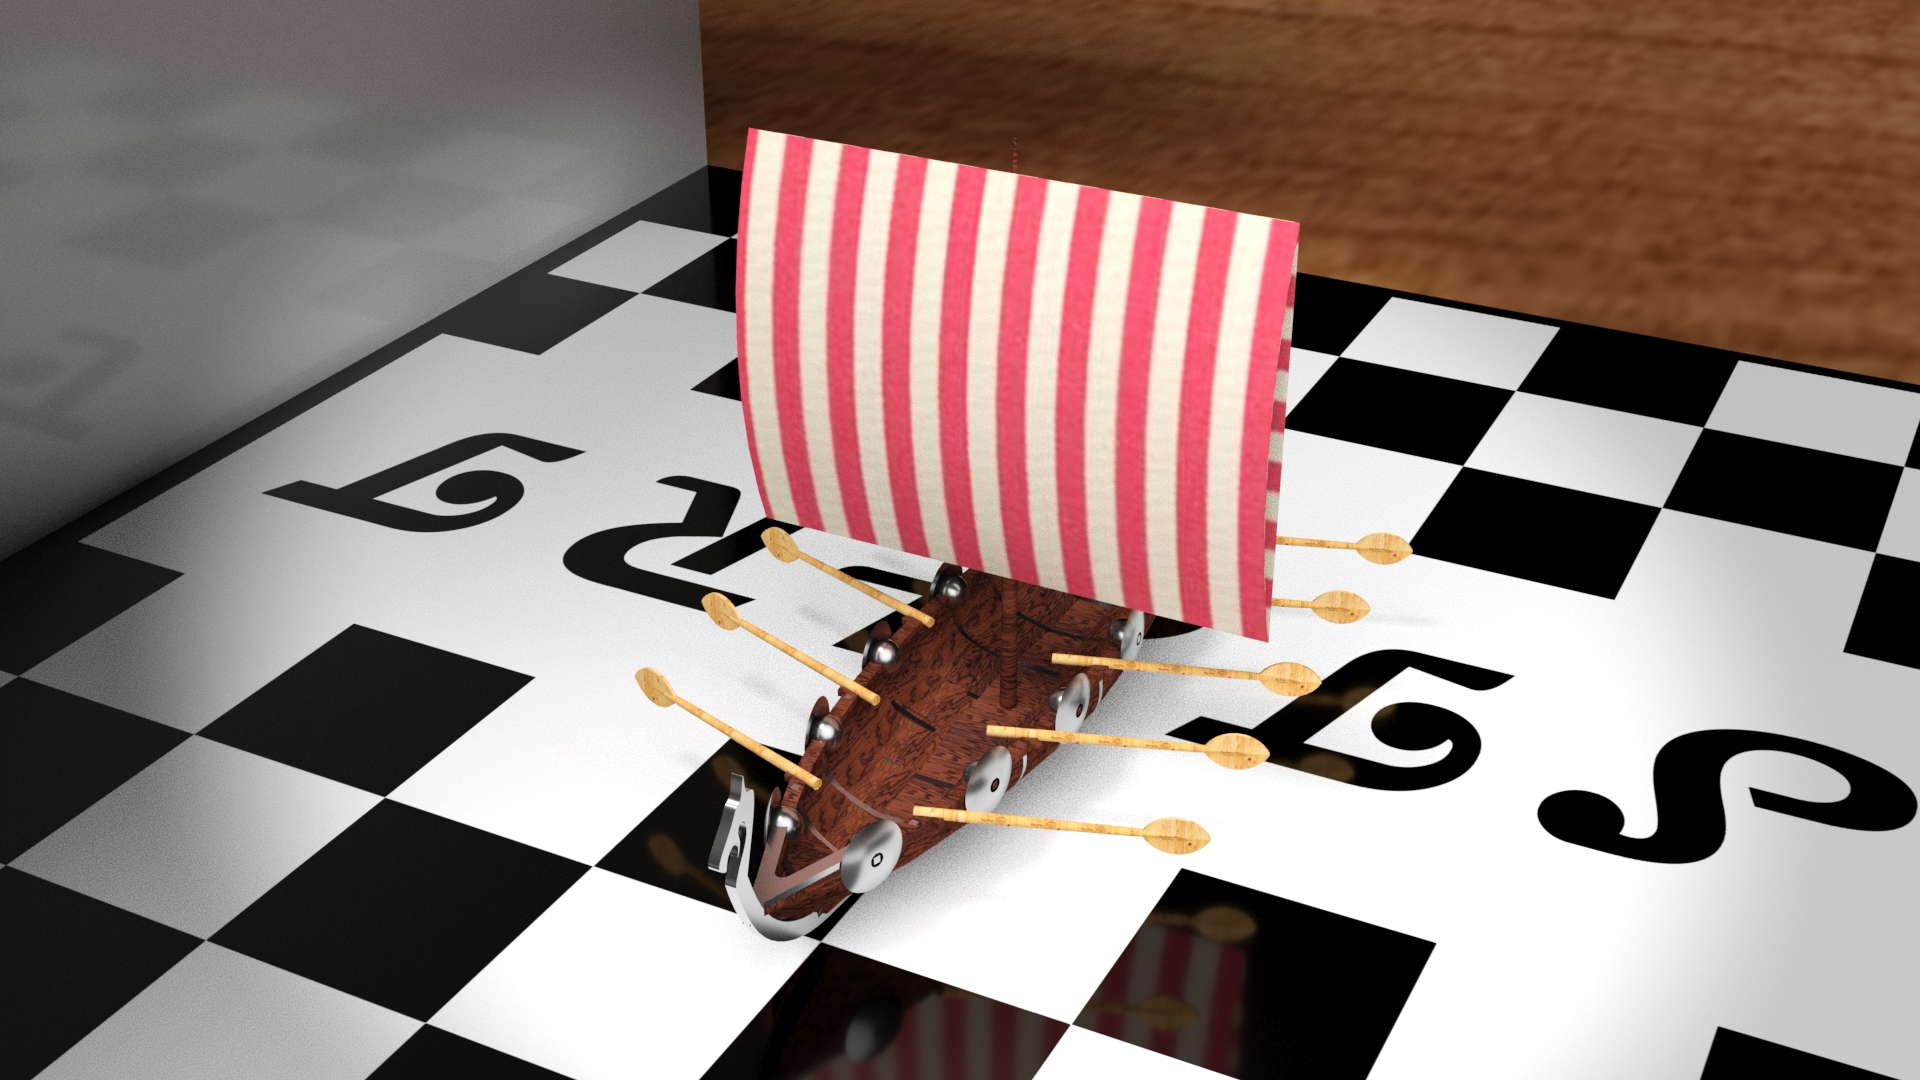
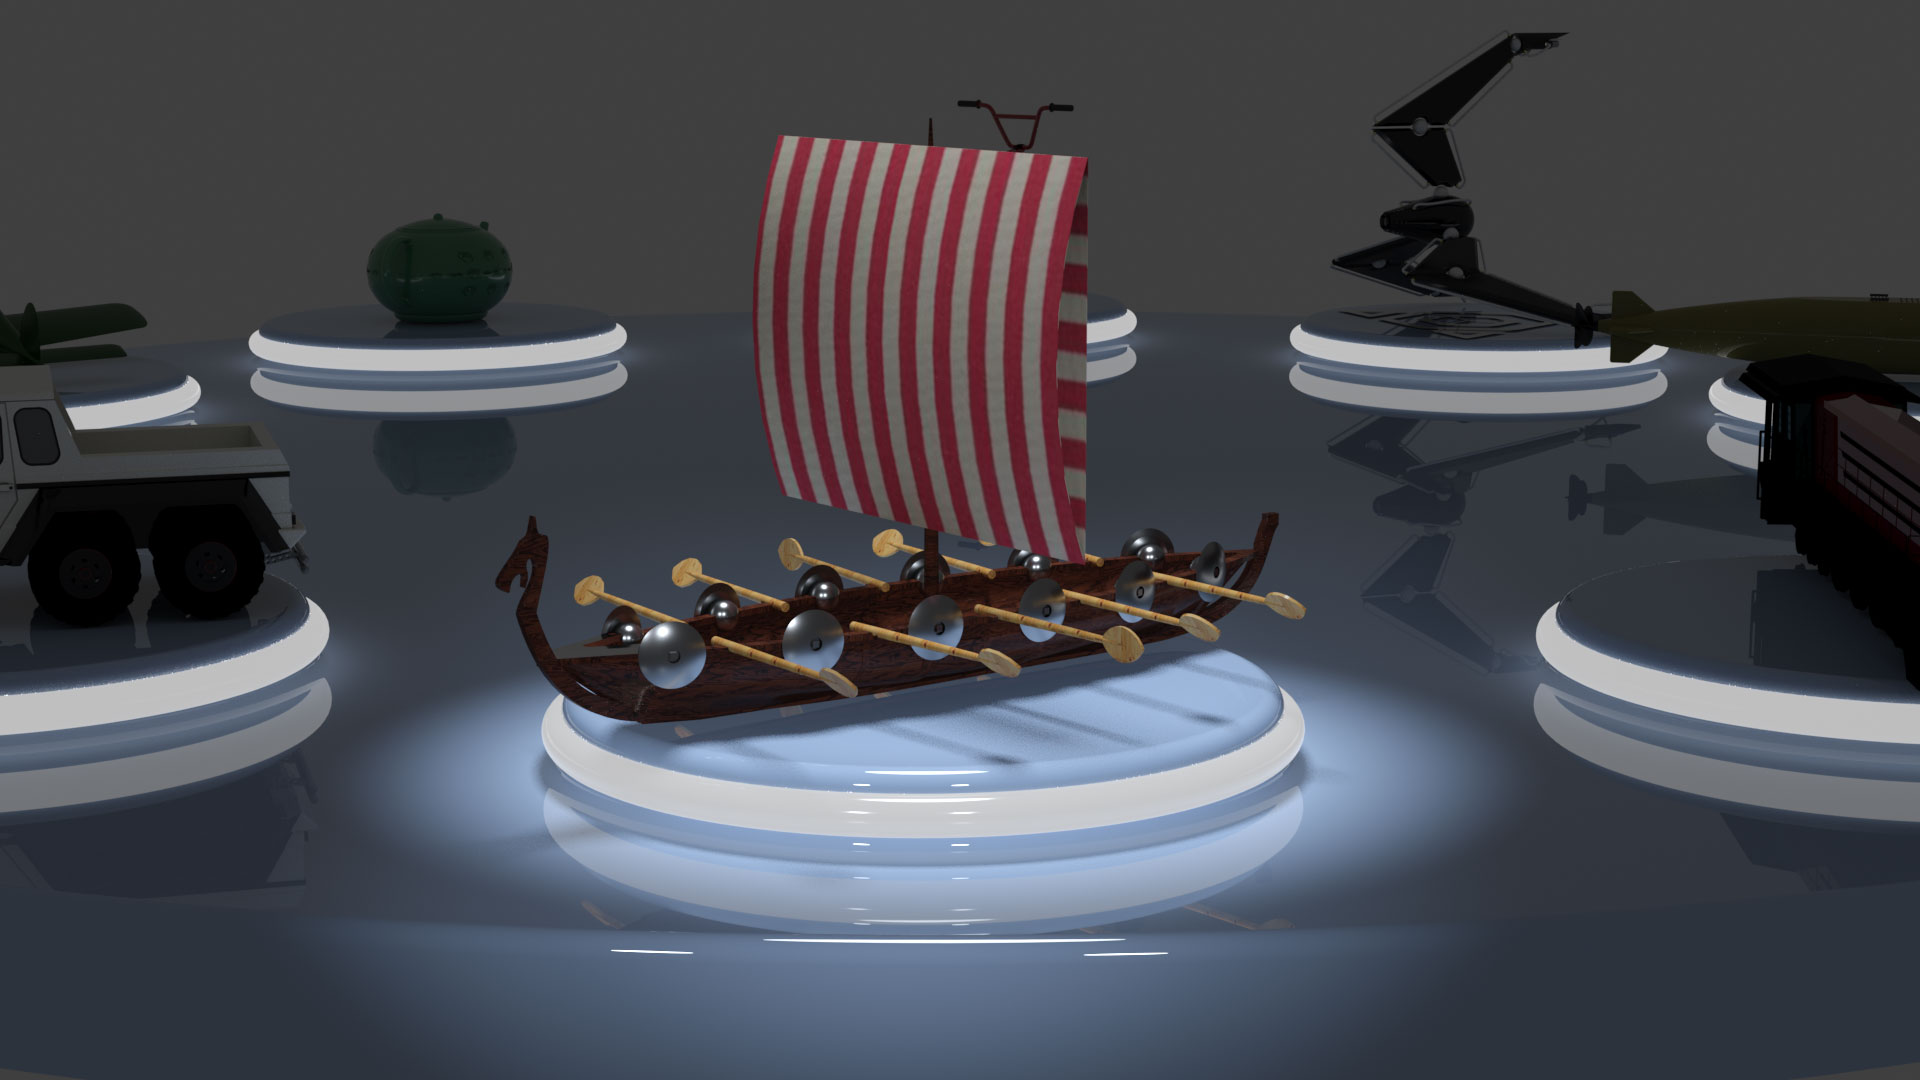
I was in charge of creating the Viking long ship. This meant having it modeled in Inventor, I used a picture from online to create the middle part of the ship, I created cross pieces and rigged them to the middle piece then lofted in between each cross piece to get the desired shape of the bow. I created a mast and sail inside inventor to bring in to 3ds Max later. I wanted to have a classic tan and red stripe sail that you would typically see on a Viking ship, but I had to make the stripes large, otherwise they would have rendered strangely. I learned Stripes apparently do not like to work well inside animations. I then rigged, animated and added materials to make it look more realistic in 3ds Max. Rigging the oars to all move at the same time and look good was difficult but was done. I also created a liquid system and worked with the BiFrost system for the ship coming onto the game board for its introductory scene using 3ds Max.
3D Rigged Model - Vault - Pedro Morales
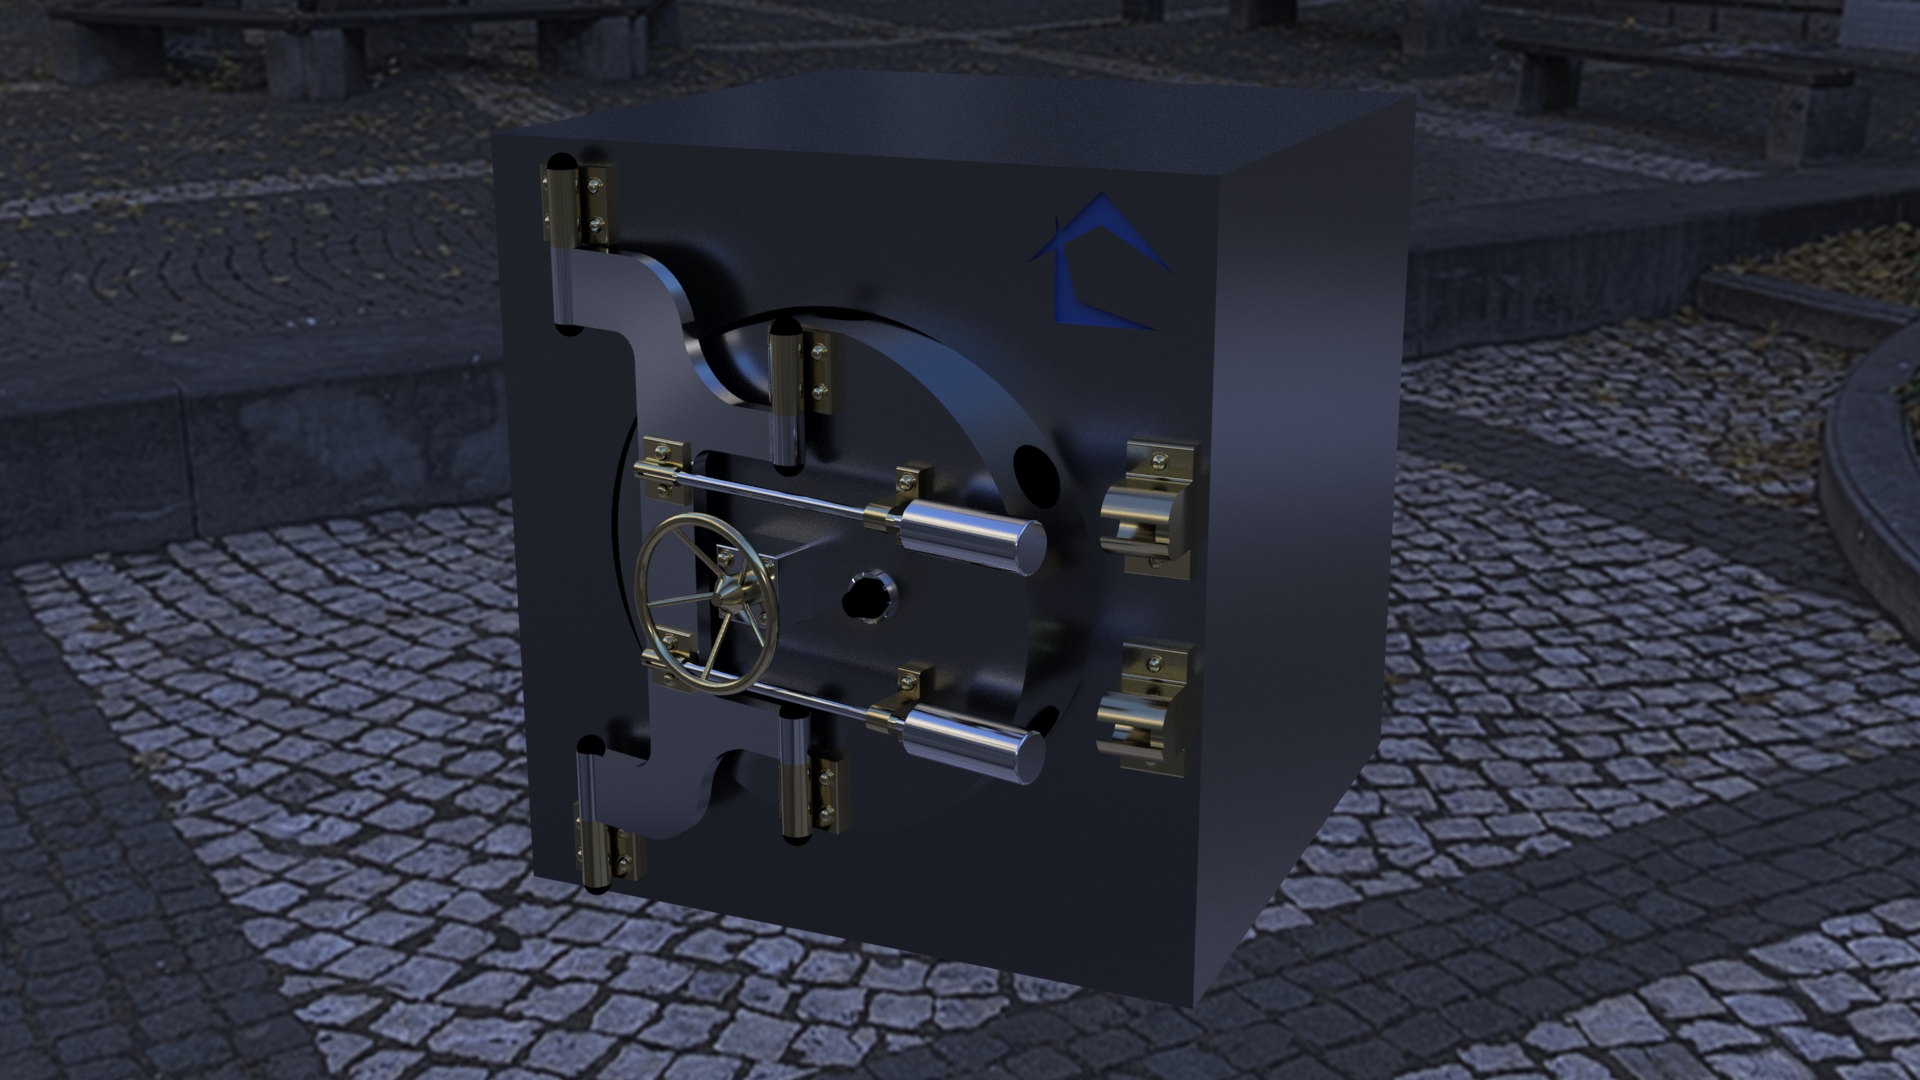
To make the villain interesting the class decided to incorporate a safe to lock the spider and give the audience that feeling of wondering what it is. The model was created in Inventor and imported to 3ds Max. It was inspired by the type of safe most banks have. The safe counts with multiple parts in order to make it seem realistic. For the materials, we incorporated gold to stand out and silver as a realistic metal. In 3ds Max I rigged the safe to showcase movement of the code rotating and the pistons moving from left to right to unlock the door. Inside the door, it holds 5 pistons giving an extra feeling of security. Lighting for it was also very important, the material had to look good with light and sometime in dark areas.
3D Rigged Model - Red Cam Robot - Pedro Morales / Gary Strommen
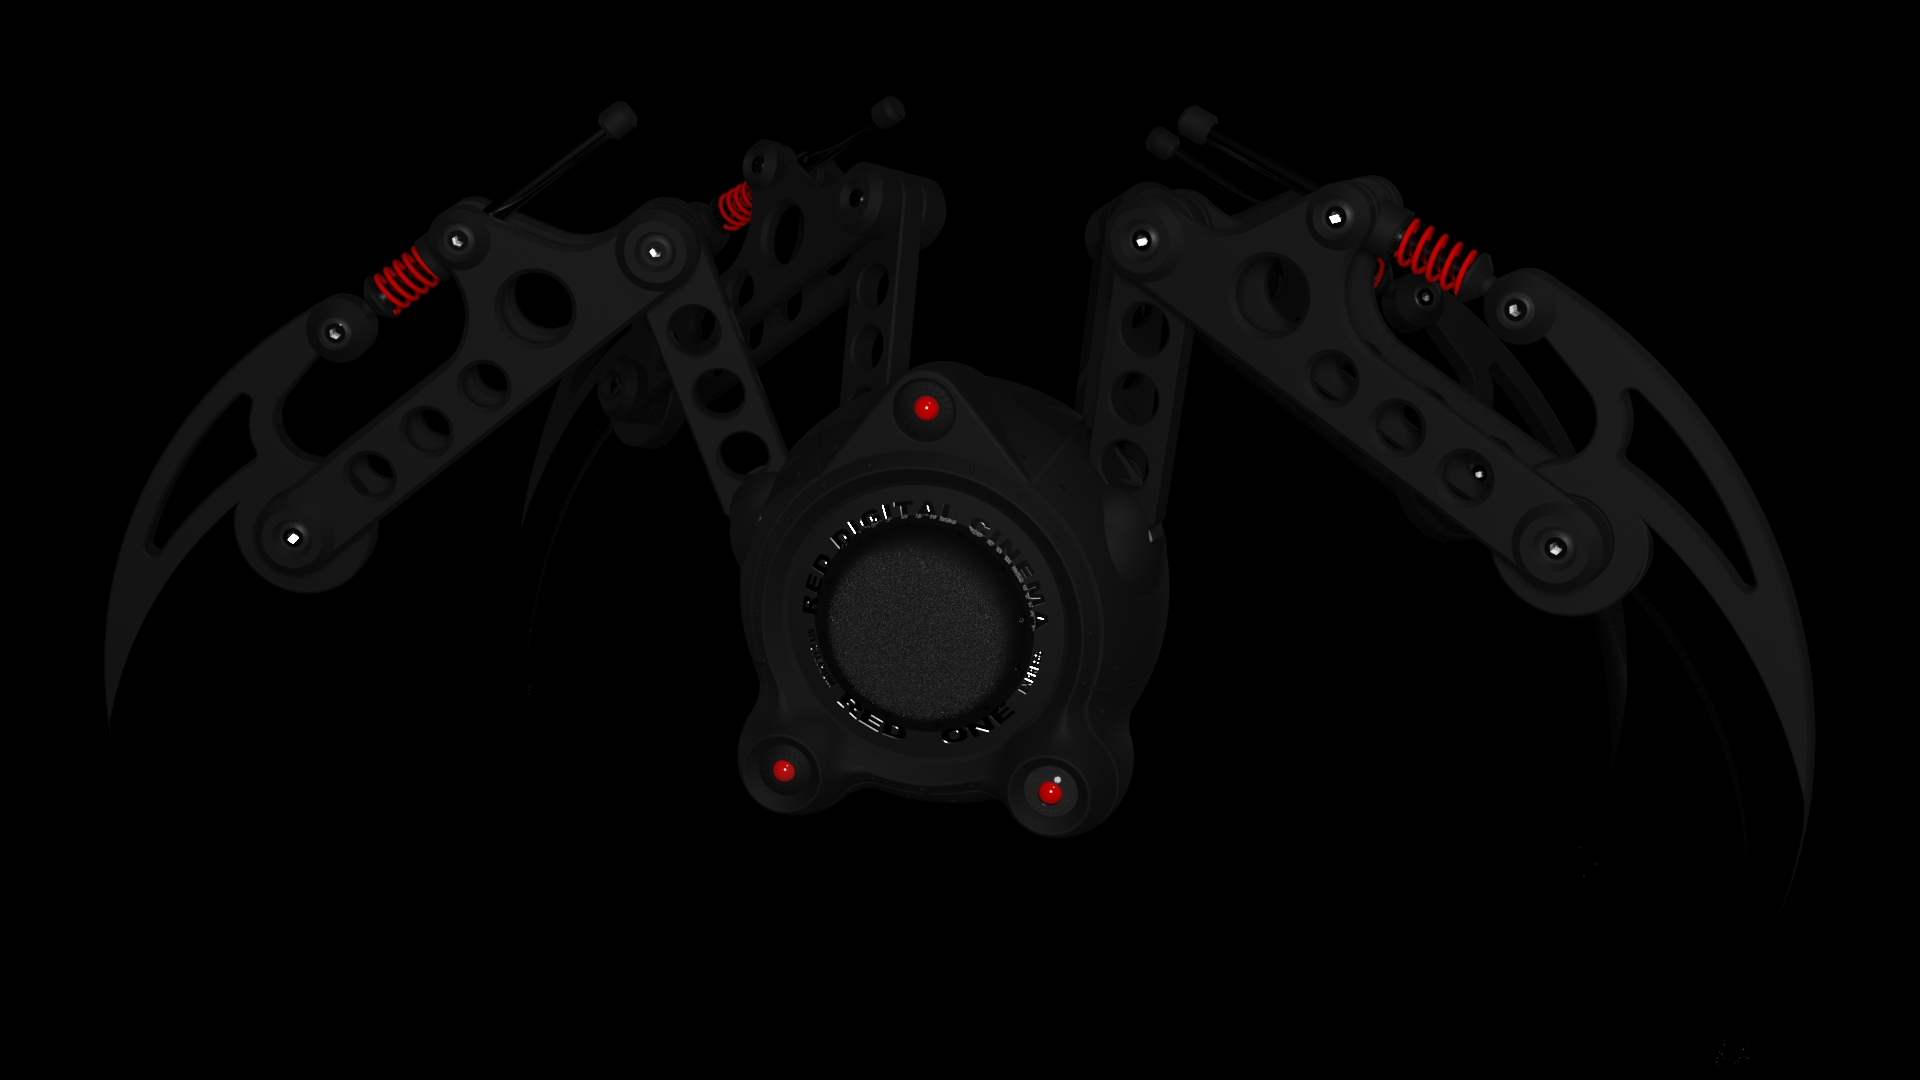
The spider was an old project created by our professor Gary Strommen in 3ds Max. I also created a simple version using Autodesk Inventor to be able to be printed as a game piece. I was given the task to watch videos on how spiders walk to figure out a natural way of movement. The most challenging task was figuring out what part of the body moved the bones naturally without damaging any other parts. I added the red light on the eye of the spider to give the viewers a feeling of the spider being the villain of the game.
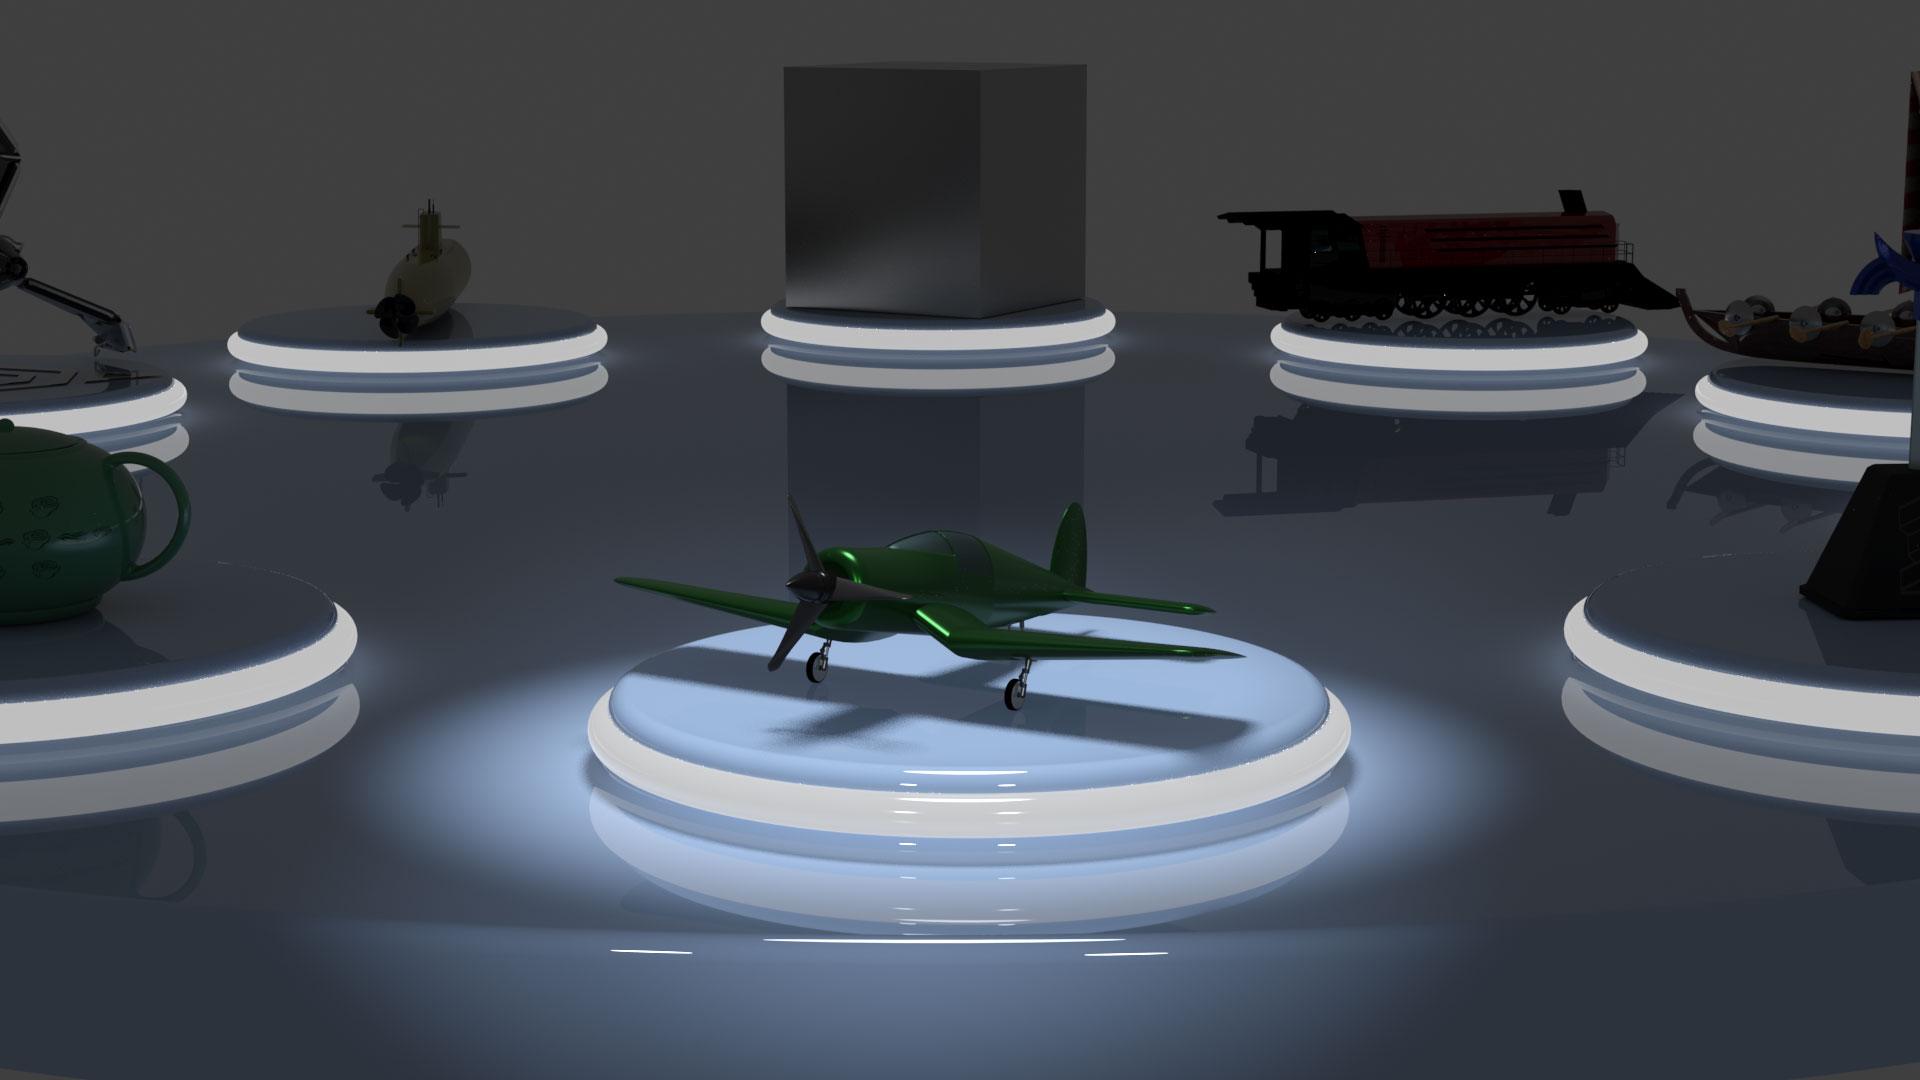
3D Rigged Model - Plane - Matthew Encinias
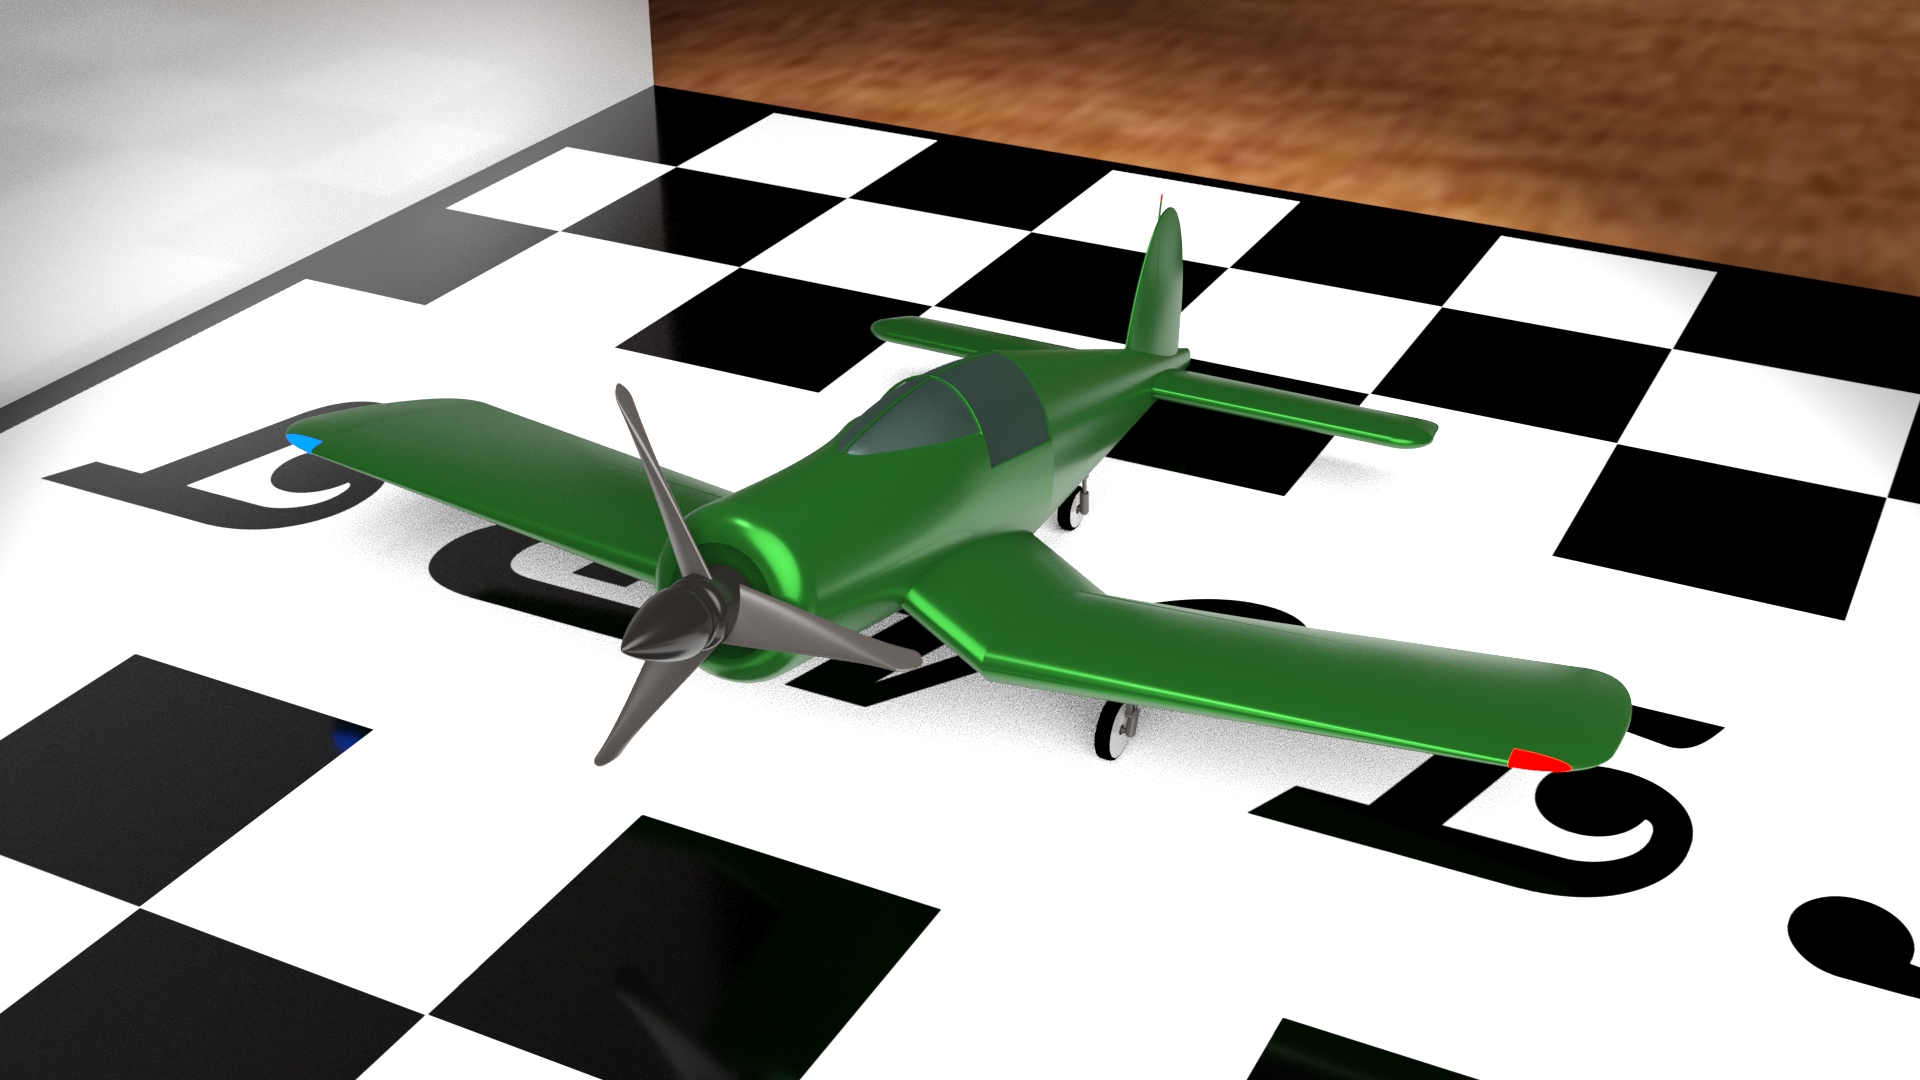
I imported Sam's plane model from inventor into 3ds Max and added metallic materials to make it look realistic. I linked all parts of the plane to its core to make animating it easier. As I moved the core around the game board, the rest of the plane followed. I added lights and cameras pointed at the plane. I linked those to the core as well and they followed everywhere the core went. Next, I added key frames to save the plane's position at specific times/locations. Finally, I adjusted the timings of the plane's movement to make it look smooth.
3D Rigged Model - Game Board - Parker Lake
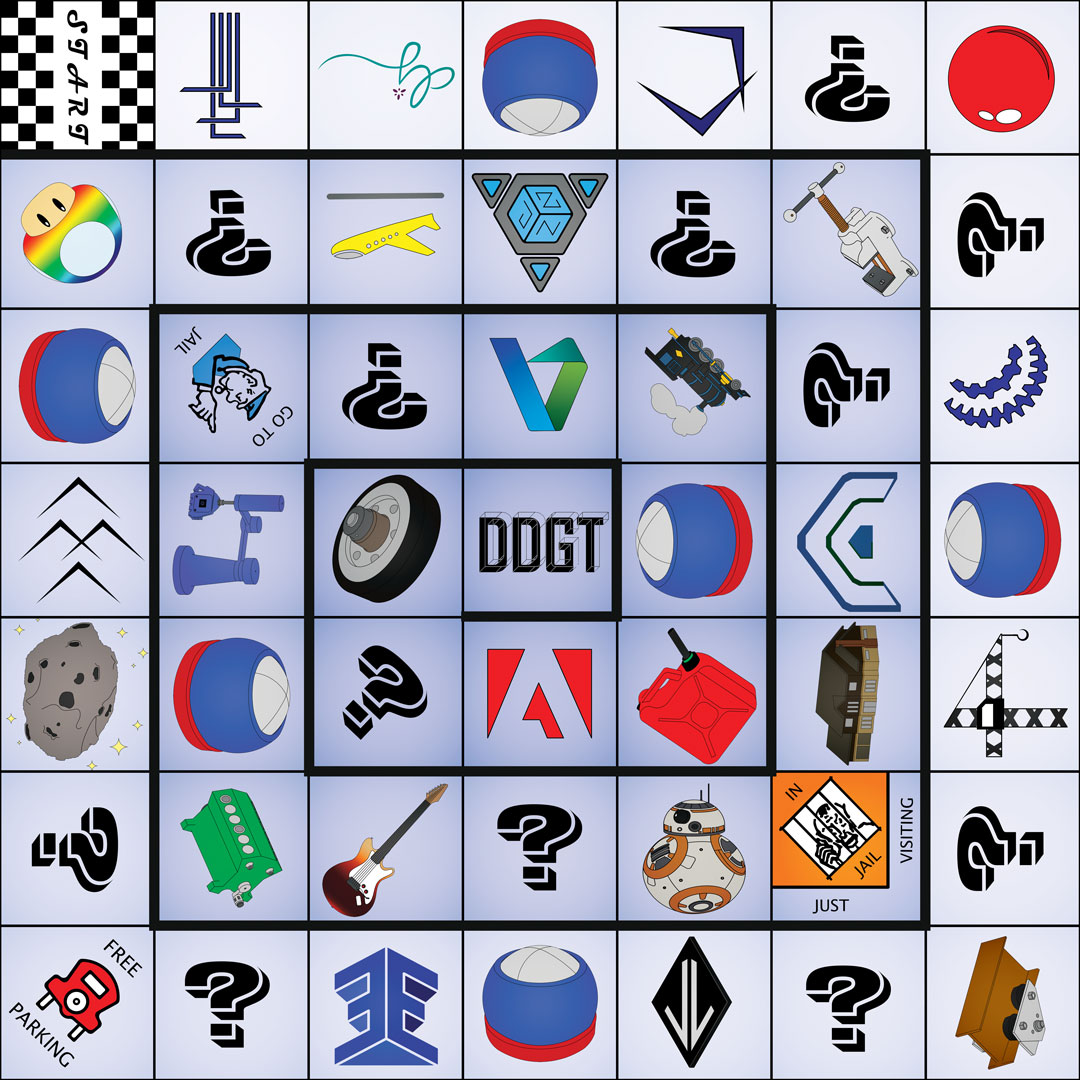

The game board was modeled in Autodesk Inventor, based on a model constructed from cardboard. The images used for the game board were created using Adobe Photoshop. We struggled with style inconsistency because some squares were rendered images and others were created in Photoshop. To solve this problem, all rendered images were recreated in Photoshop to give all squares the same style. There are 49 individual squares that had to be exported and applied on the corresponding square on the 3D model in 3ds Max. The most difficult part about modeling the game board was lining up the images perfectly with the square. When we assigned the material to a square, the attached image never lined up correctly nor was it at the correct scale. After many tweaks to the UV settings we were satisfied with our final game board.
Enviroment - Game Room - Justin Rachel

I created the room using measurements of the real room given to me by Parker Lake. I was able to create the room and import it into 3ds Max for materials.
Live Action - Actors and Camera Crew
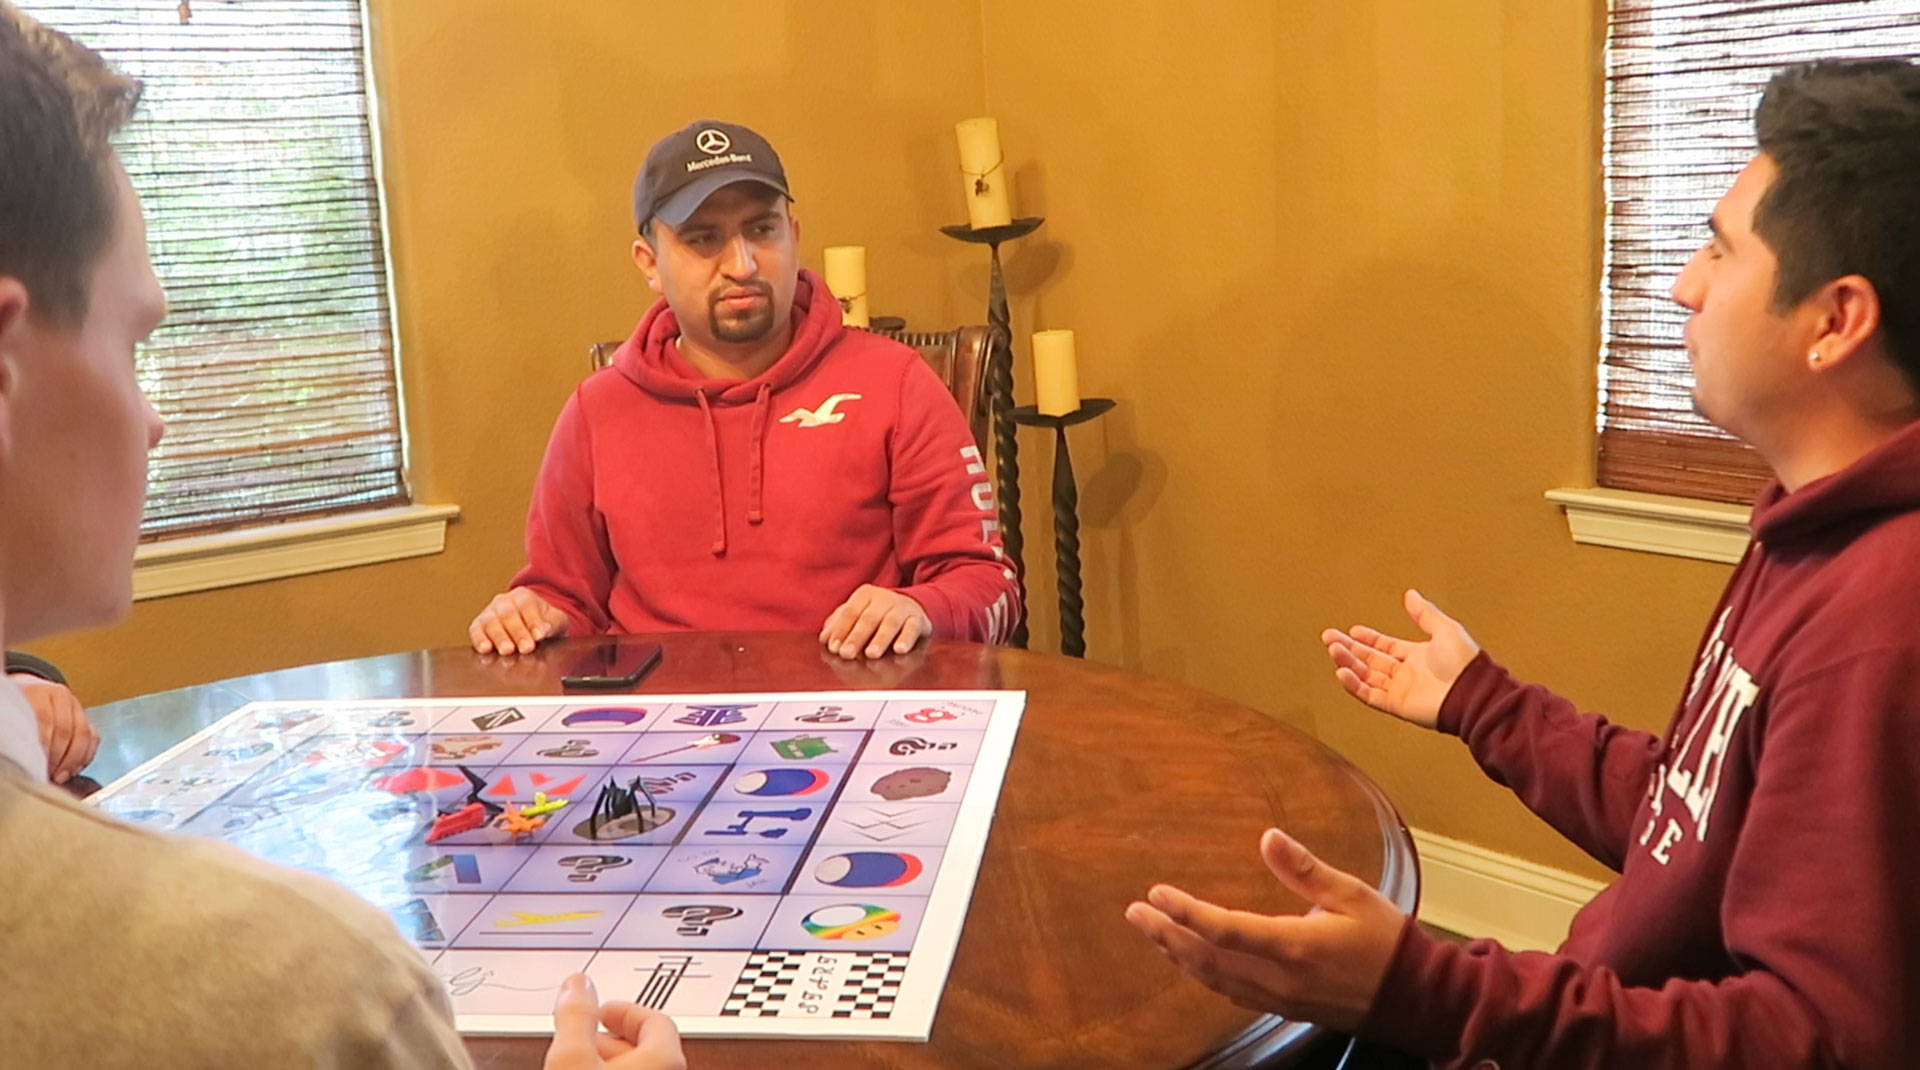

The live action crew Justin, Parker, Fernando, Danielle, Neil and Pedro ran into a few obstacles. One of the original crew member could not continue and we were not able to borrow lights on time; however, Danielle had a brilliant idea of using aluminum foil and cardboard for fill lighting. The footage was shot in Parkers house, who was also the person in charge of recording, while Justin helped with the lighting. Over all everything was shot in one day with many laughs. The four remaining members were chosen by the class to be in the live action video. They were in charge of trying to act normal without looking at the camera. All four of them were given a script with lines for the animated dialog. For the final scene all 11 students that were involve in this project wanted our professor to be part of it as well. It took all of us some time for this, but we were able to accomplish our tasks and fulfill our expectations.
Animated dialog scenes
For the animated dialogue, we first started by video recording our voice to capture the timing of how long our scene would be. We played back the voice recordings to time how long a phrase or the conversation will take. This was important to be able to set the frames to the correct amount of time. Animating the dialogue was a challenge not only because we had to put both voice and animation together buy also because we made every piece move different for every scene having a different movement that showcases what we have learned in the two-year program. To make the animated dialogue possible we used 3ds Max which allowed us to move every part of the 3d model.
Sounds and Music Production - Jose Lara / Matthew Encinias
The sounds and audio for the project were not always spot on, that is why it is best to grab a couple of different versions just so that the editor has a couple to choose from. We also tried to get them in wav format because its better quality audio. Our teacher, Gary Strommen, provided some of the websites where we could get free non copyright audio/music and we also selected audio from YouTube and used a converter to just get the sound or music in wav format. Overall it was a fun experience getting the sounds/music for the project.
Arnold Rendering & Materials - Team
.jpg)
.jpg)
During our final project, we used the Arnold renderer to output our finished sequences. Because we used the Arnold render, we also had to use Arnold materials. Arnold materials were fairly simple to create, once we knew what we were doing. To create an Arnold material, you can choose to use a preexisting material or create a new one. You select a standard material and make adjustments based on what you're looking for. You can choose to create a shiny metallic material or matte monotone material. You choose what you want the base color of your material to be and if you want secondary color highlights in it. You can decide to make your material very reflective with little color, or one solid color without reflections. Once you have your materials created, you add them to your models and render your sequence. Before you start rendering, you can adjust how much detail you want your finished product to have. The better your finished sequence looks, the longer it takes to render.
Easter Eggs - Team

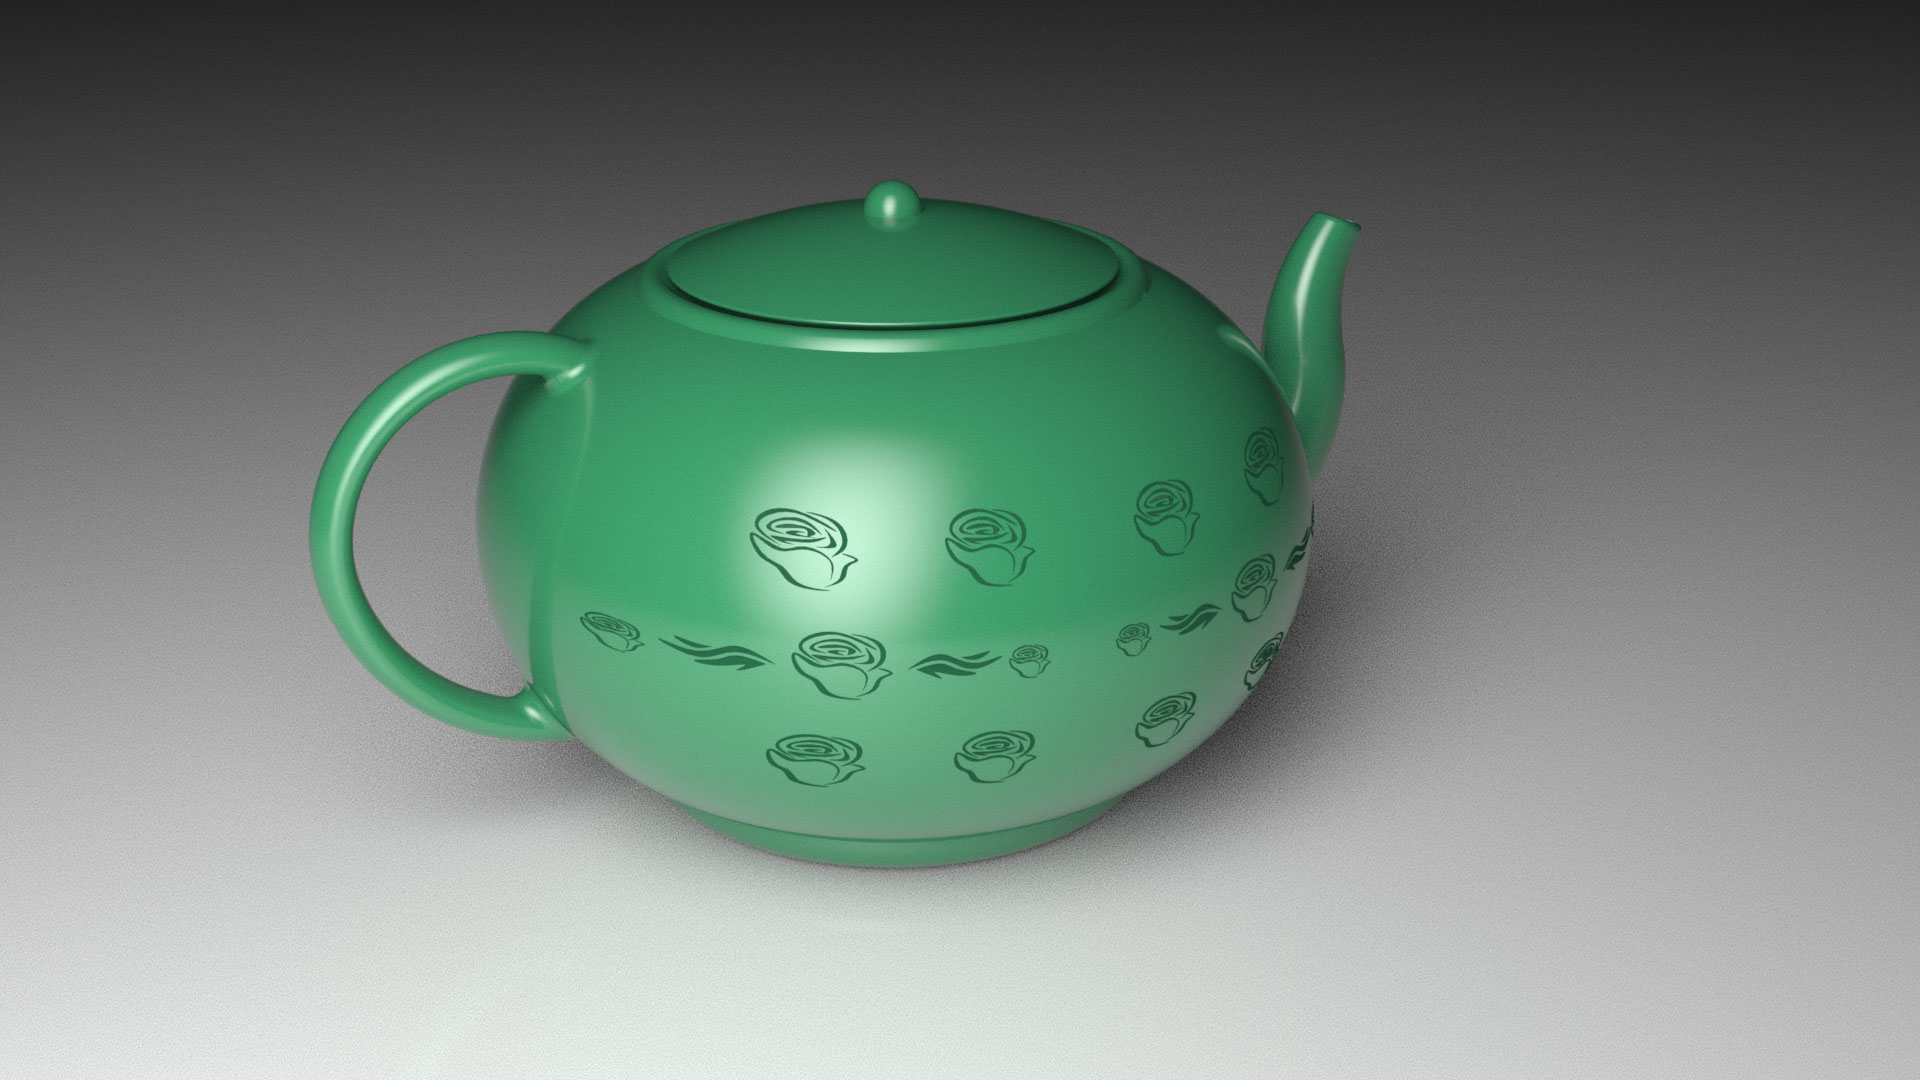
Within the final project were some easter eggs, or hidden messages deliberately placed in some form of media or film. The model of the teapot is an easter egg itself. Known as the Utah teapot, the general shape of a teapot has become the standard reference within the computer graphics industry. It is curvature and linear shape acts as a basic placeholder in creating scenes. Another easter egg was the dice in the poster. When looked at closely, the dice reads out 241, the final class of the DDGT program. On the gameboard, each individual square displays different logos. Some are images of what sequence is to follow in the video. For example, the image of the asteroid transitions into the spaceship facing an oncoming asteroid. Other images are of the students logos, in which they created in the second semester of the DDGT program. A few have references to other famous games, like Monopoly and Mario Bros. Some images refer to previous projects completed such as the Machine Vise and Trolley. The two A squares are the Autodesk and Adobe logos, the two main software companies that created the programs we used like AutoCAD, Inventor, Photoshop, 3ds Max, and more. Lastly, the final square displays the DDGT logo, what tied the entire game board together.
Video Editing - Justin Rachel

My responsibilities in our final project for video editing and post production were pretty intensive. The audio in Premiere Pro have to match all of the things that are happening in the scene, the music has to fit what is going on, and all of the different scenes and trying to gather sounds gets pretty hectic. It is a very scary job because you are basically in charge of the final result of everyones efforts for the entire semester, trying to showcase what we have done, I would not wish the job on someone who has a lot of anxiety. I wanted to make the whole video similar to a preview for a movie or as a short movie and try to keep it straightforward so people who know nothing about the program could for the most part follow what was going on. Some parts of the post production are very tedious, but for the most part it was very enjoyable making everything come together using the digital glue of Premiere Pro.
After Effects - Justin Rachel / Samuel Torres
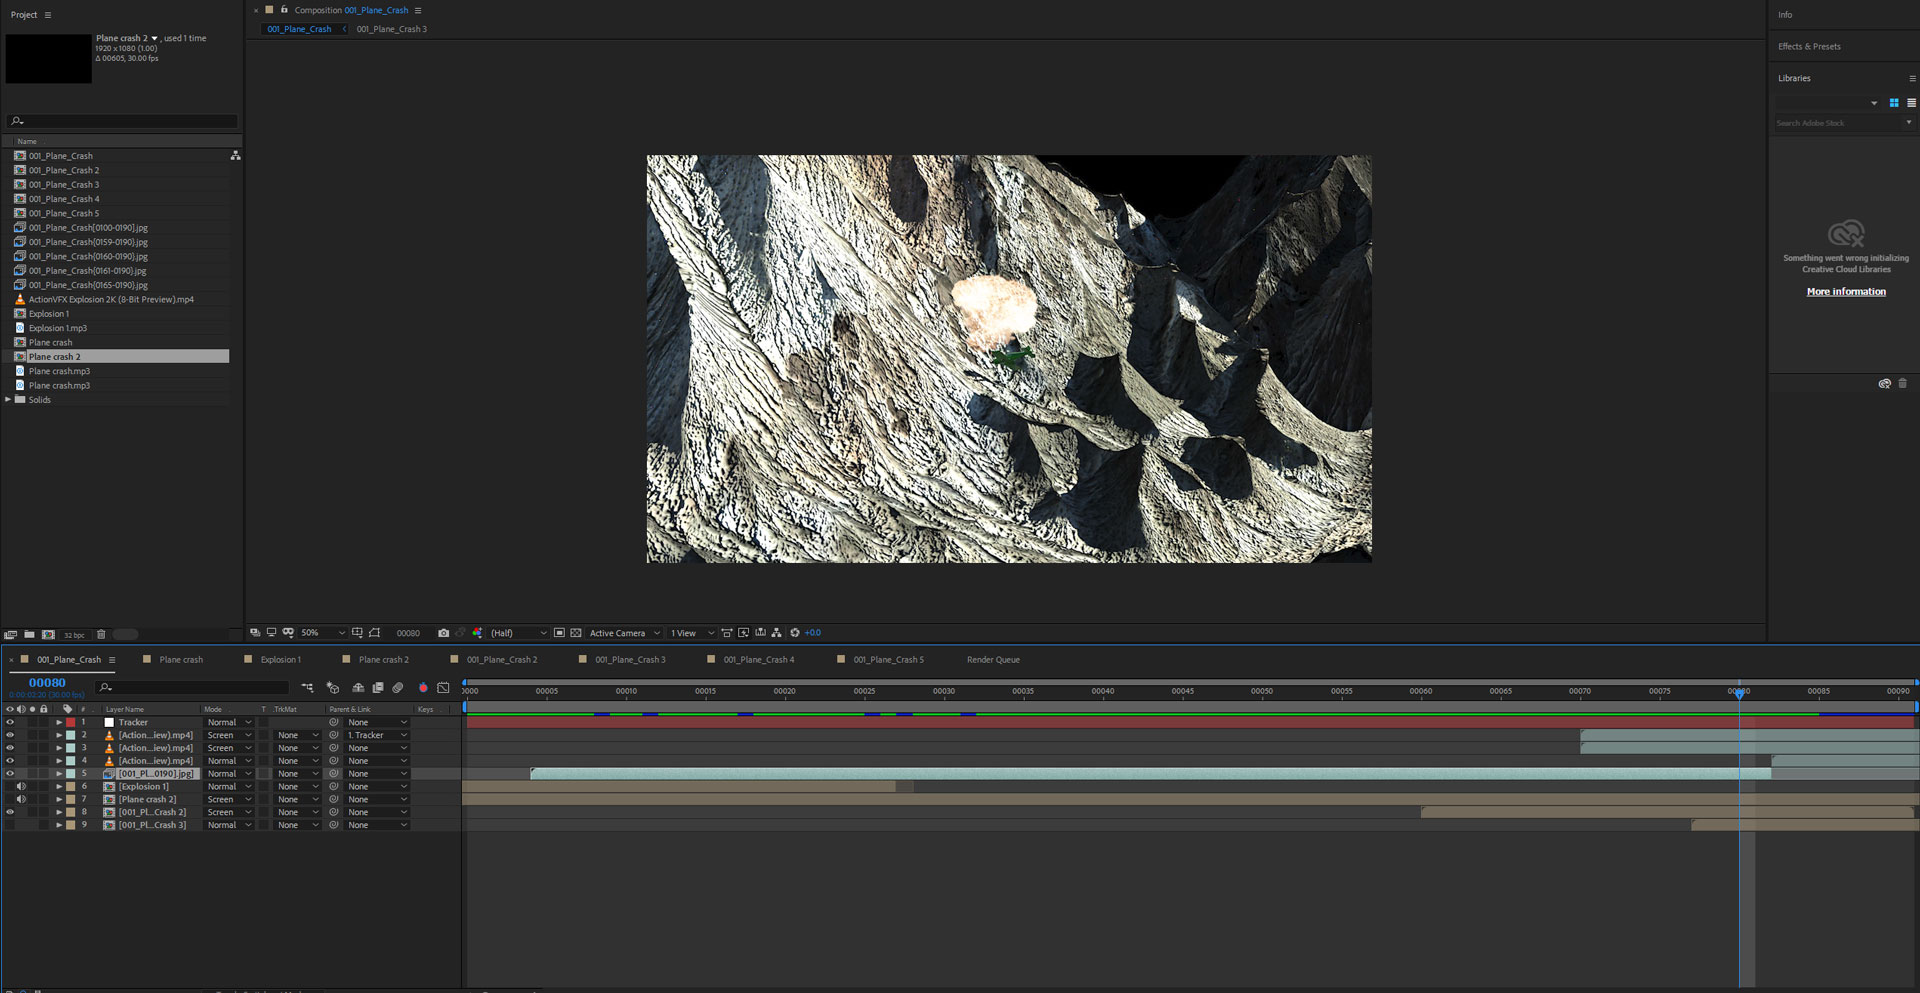
I had the opportunity to use After Effects for the group project. It was a great addition to my learning skills. I was able to learn new tricks on how to animate objects and scenes such as the explosion when the air plane crashes. I was able to modify, scale, animate and create my scene and it came out well.
MassFx - Sepehr Nayeri / Jose Lara


MassFx provides tools for animating objects to behave themselves as they do in the physical works when they come in contact with each other. For our final project, our professor provided us with great tutorial videos and he asked a former student, Sebastien Bolle, to help us as well. That helped us a lot to figure out the concept of this tool in 3ds Max. We used MassFx for all dice rolling, truck being crushed and crushing the boat with wrecking ball. I enjoyed learning how kinematic rigid bodies act on the dynamic rigid bodies who effected over solid rigid objects.
BiFrost - Justin Rachel / Neil Schafer
This was by far the most interesting part of rendering in this project. It was quite a fun experience to get the voxel size and the collisions correct to simulate the boat on water enough for it to look realistically believable.
State Changes - Danielle Jalotjot
This scene was broken down into three separate sequences, beginning with the truck transforming into the ball, the ball traveling through the Rube Goldberg machine, and the ball bouncing back onto a safe square to transform back into a truck. The first sequence was a bit tricky to animate. I researched different ways to distort or morph the shape of the truck into a sphere. I used a FFD Box Space Warp modifier, which forms a box around the selected object and provides points on the vertices for movement and distortion. Using this, I squished the truck horizontally in order to use a Spherify modifier, which finished the modification of the truck. I then animated the transparency of the truck and animated the fading in of the red ball.
The Rube Goldberg machine itself was the easiest sequence. I created a spline offset to the path, linked the red ball to the spline as a path constraint, and controlled the speed of the ball, where I manually keyframed the balls movement to mimic the lifelike physics of a ball going through a Rube Goldberg machine.
For the final sequence of the scene, I ran into the most problems. I knew I could reverse the transformation, but the opacity of both the ball and truck were needed to be redone. The Arnold renderer does not easily allow for animating opacity, but I eventually found a way to animate opacity through the material of the objects.
In post-production, the three sequences were then combined to create the Rube Goldberg scene.

